Consent Management: Install Fides on your Shopify store
In this tutorial, we'll configure Shopify to both install FidesJS and respect the end-user consent choices provided by Fides. This includes compliance with Shopify's native customer privacy API.
Shopify’s Customer Privacy API defines their own standard categories of consent and provide a standard way to collect, record, and enforce consent on the platform. This privacy API can be seen as similar to Google’s “Consent Mode” API, which also provides some standard ways to configure consent on Google’s platform.
The Customer Privacy API includes a way to:
-
Collect consent from cookie banners: both the Shopify-native banner, as well as including an API for 3rd-party banners to use
-
Record consent in five standard categories, defined by Shopify: Required, Personalization, Marketing, Analytics, and Data Sales
-
Enforce consent on Shopify-managed apps & pixels
Main Steps
This tutorial covers 3 main steps:
- Disable Shopify's consent banner
- Configure a FidesJS Shopify code section
- Add the FidesJS section to your Shopify theme
Let's get started!
Prerequisites
Adding Domains
In order for Fides.js to be served on your Shopify storefront, you must first add your Shopify store domain to the allowed list. Read the guide for adding domains to the allowed list here.
For this tutorial you'll need:
- A Fides Cloud or Fides Enterprise account
- The role of
OwnerorContributorfor your Fides organization. - Access to your Shopify store admin to make updates to the theme.
- At least one system with a data use on your Data Map. Read how to add systems to the Data Map now.
- At least one privacy notice configured. Read how to configure privacy notices now.
- At least one privacy experience configured. Read how to configure privacy experiences now.
Disable Shopify's cookie banner
Shopify includes a default cookie banner that you may want to disable to avoid conflicts with FidesJS. Here's how to disable it.
- Navigate to your Shopify admin dashboard and click on Settings tab
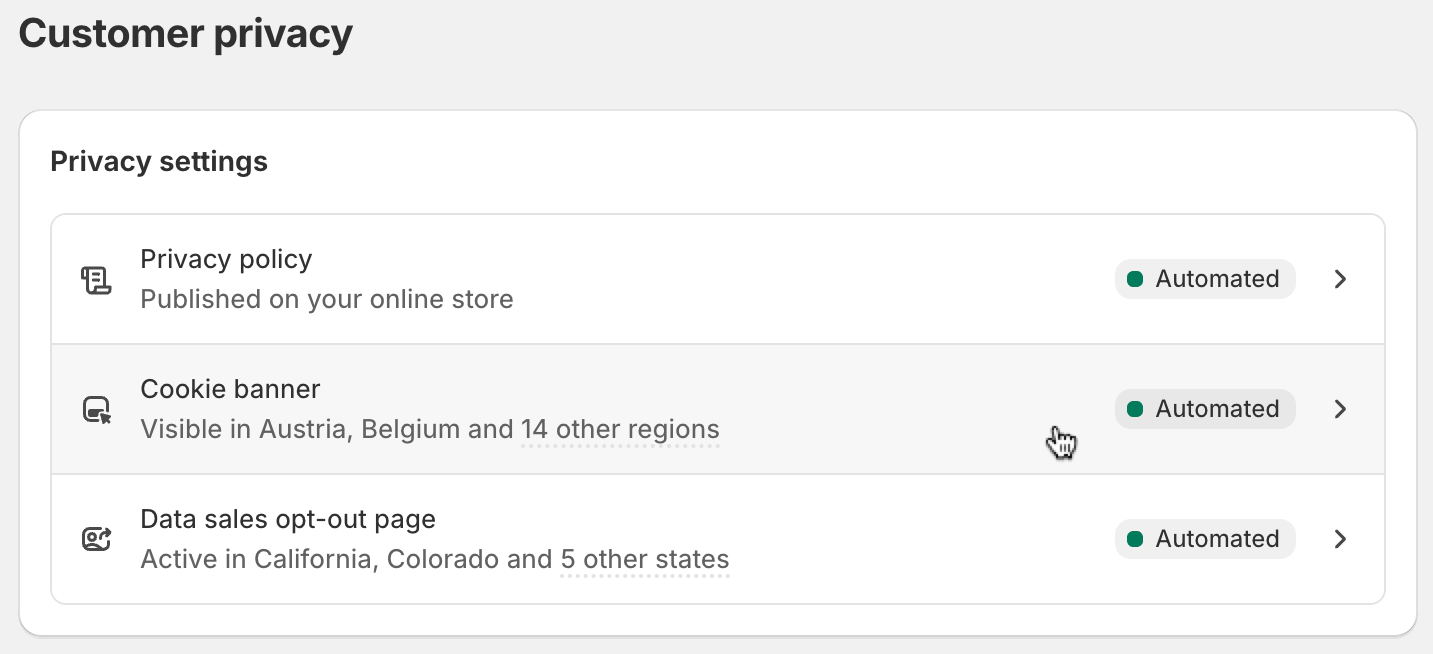
- Navigate to Customer Privacy
- In the Privacy Settings section, click on Cookie banner:
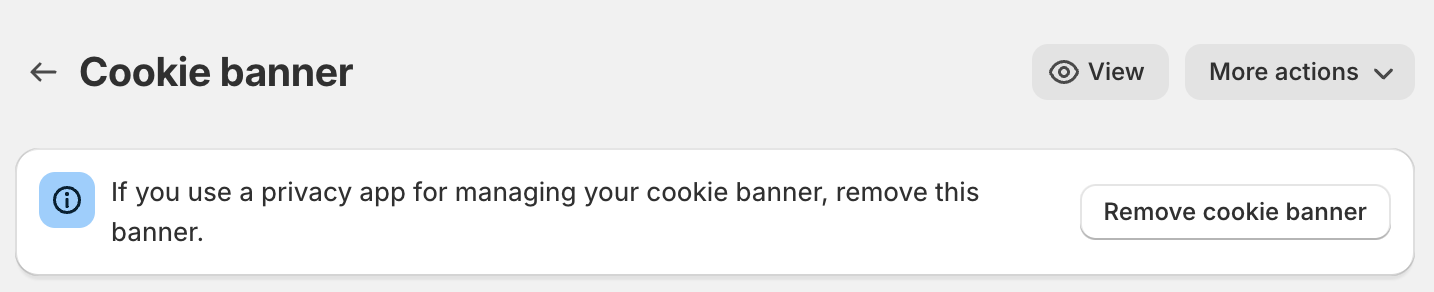
- Click on Remove cookie banner if you see the following UI:
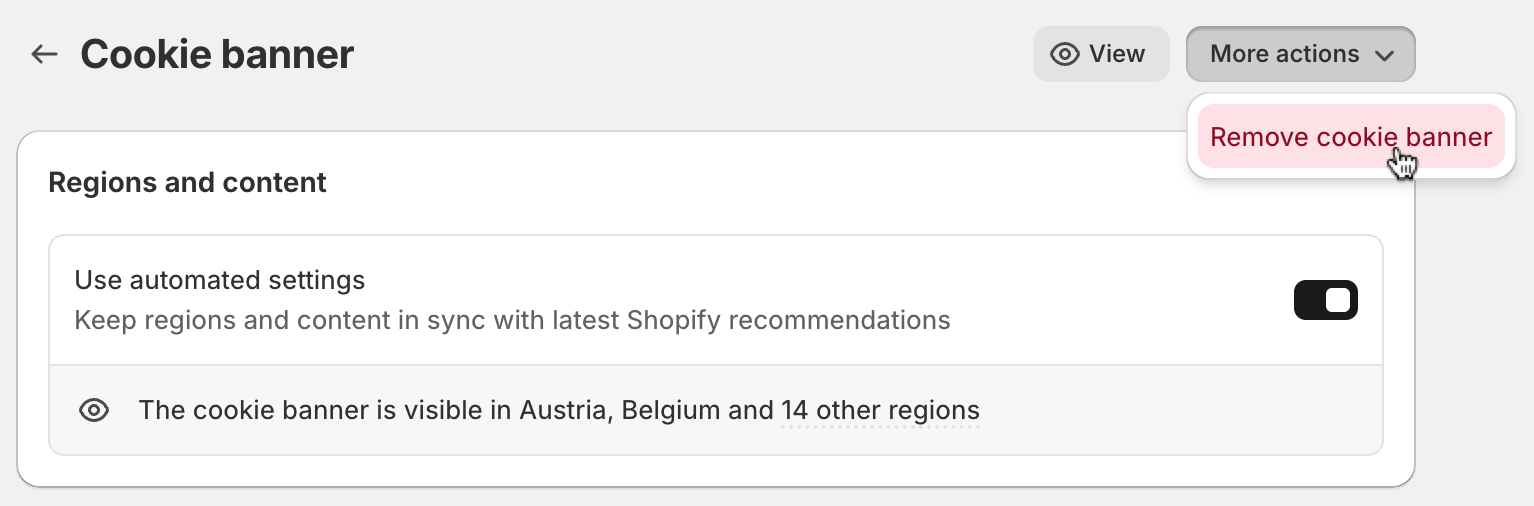
Otherwise, using the More actions dropdown, click on Remove cookie banner in the dropdown:
Configure a FidesJS Shopify code section
Fides.js is the JavaScript package that powers Fides privacy and consent experiences on your website. It needs to be installed into the source code of your Shopify store to function, which will require some small customizations to suit your preferences.
Shopify code sections allow us to insert custom code into storefront pages of a Shopify theme. We will create a custom section that loads the Fides.js script.
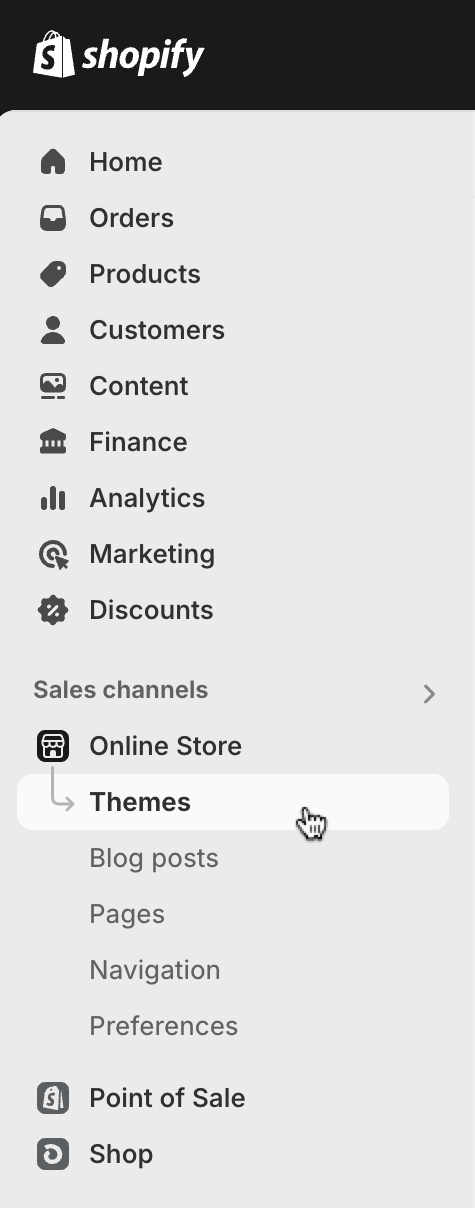
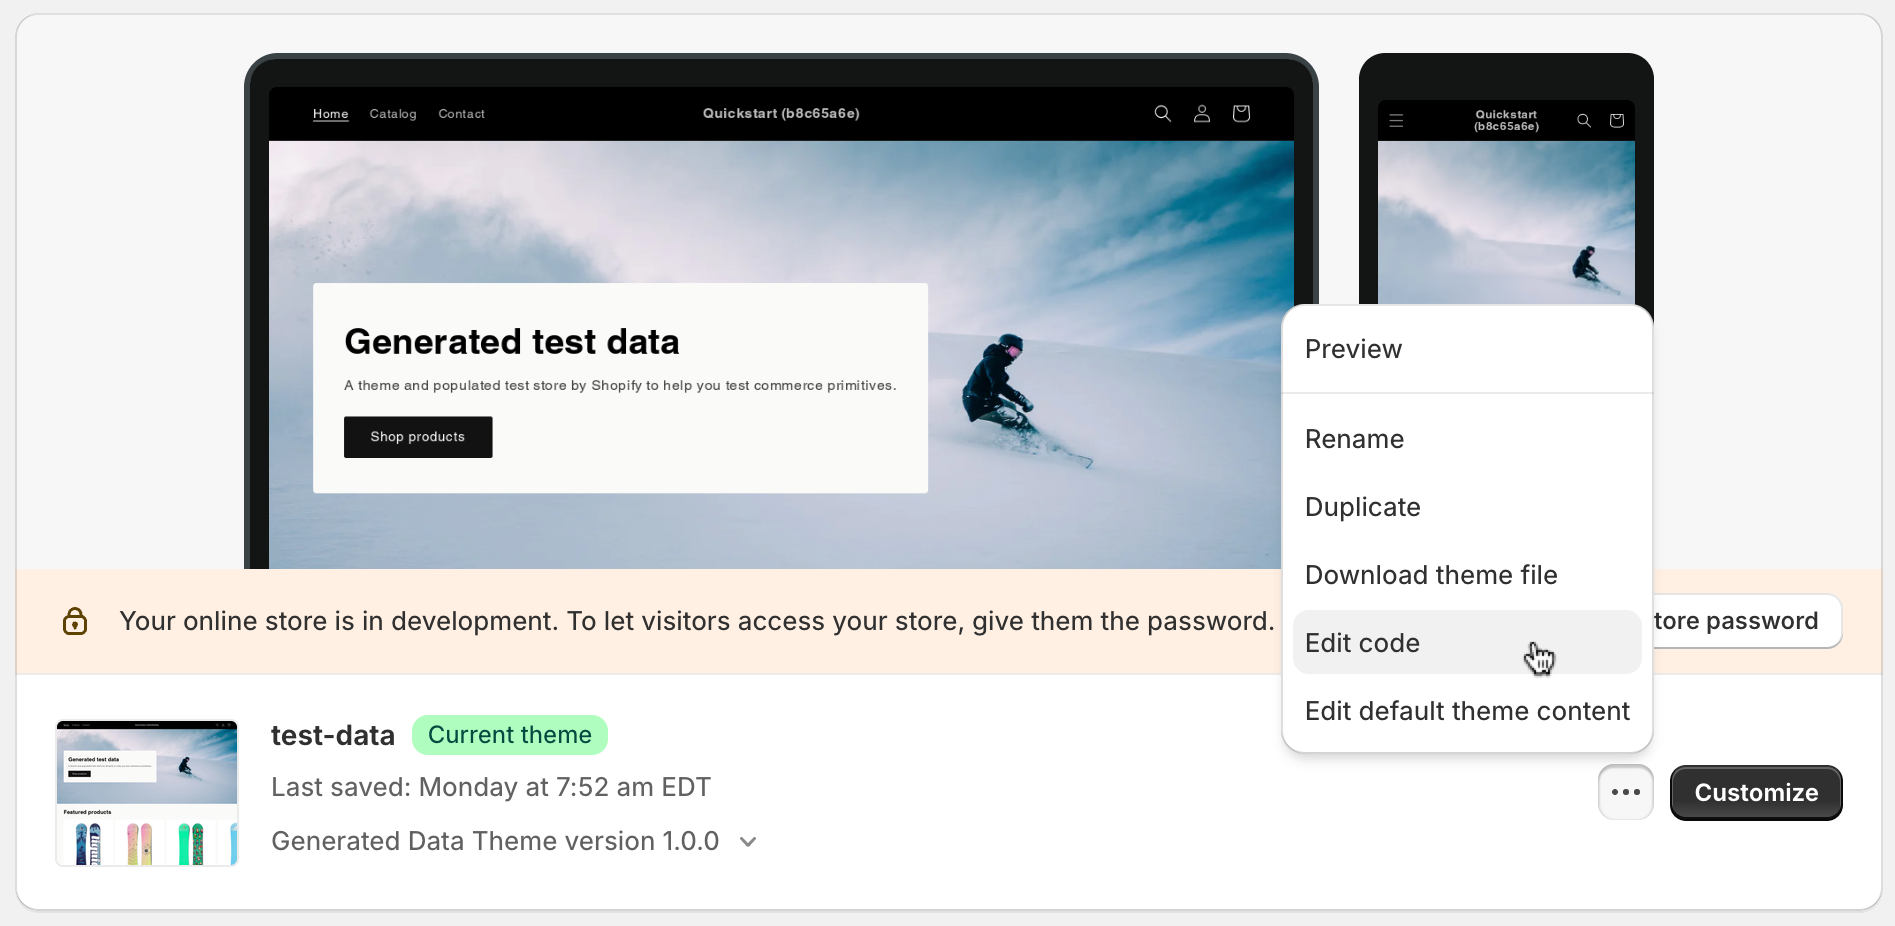
- Navigate to your Shopify admin dashboard and click on Online Store → Themes:
- Click on the
...menu → Edit code:
-
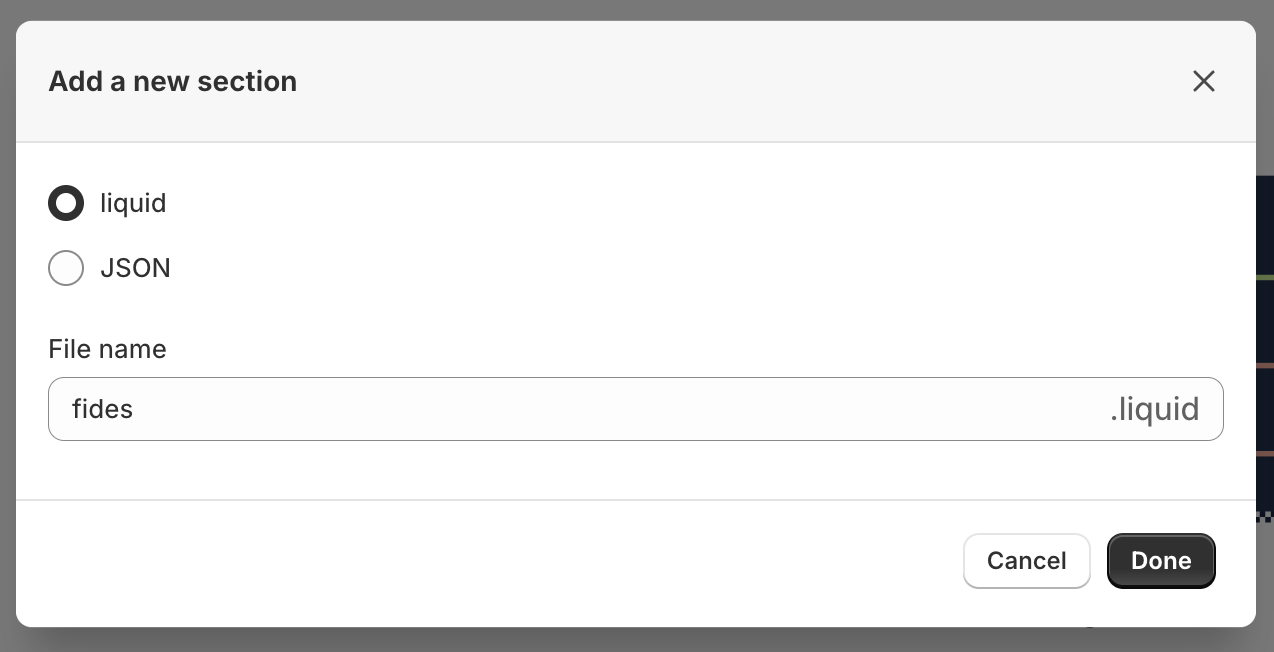
Click on Add a new section:
-
Select the liquid option and name the section
fides. Click Done.
- Replace the default code with the following code snippet
<script>
  (function() {
  var script = document.createElement('script');
  script.type = 'text/javascript';
  script.src = 'path/to/fides.js'; // You will need to change this to your fides.js URL
  script.async = true;

  script.onload = function() {
    if (typeof Fides !== 'undefined' && typeof Fides.shopify === 'function') {
      Fides.shopify({ sale_of_data_default: true });
    } else {
      console.error('Fides or Fides.shopify is not available');
    }

    // Begin optional Google Tag Manager (GTM) integration
    if (typeof Fides !== 'undefined' && typeof Fides.gtm === 'function') {
      Fides.gtm();
    } else {
      console.error('Fides or Fides.gtm is not available');
    }
    // End optional Google Tag Manager (GTM) integration
  };

  script.onerror = function() {
    console.error('Failed to load Fides script');
  };

  document.head.appendChild(script);
})();
</script>
{% schema %}
  {
    "name": "FidesJS",
    "settings": []
  }
{% endschema %}
Modify this template with:
- Replace
path/to/fides.jswith the custom domain of your privacy center, e.g. "privacy.example.com/fides.js", "privacy.your-brand.com/fides.js", or "privacy-your-brand.fides-cdn.ethyca.com/fides.js". If you're not sure what to use, work with your Ethyca customer success team! - Optionally, remove the Google Tag Manager section if you do not use Google Tag Manager for managing tags on your website
- Optionally, if you wish for the Shopify sale_of_data default to be
false, change thesale_of_data_defaultvalue tofalseor simply leave out the config object entirely, e.g.Fides.shopify(). This will set the default value for the sale of data consent category to false, meaning users will not be opted-in by default.
Your resulting fides.liquid section should look something like this:
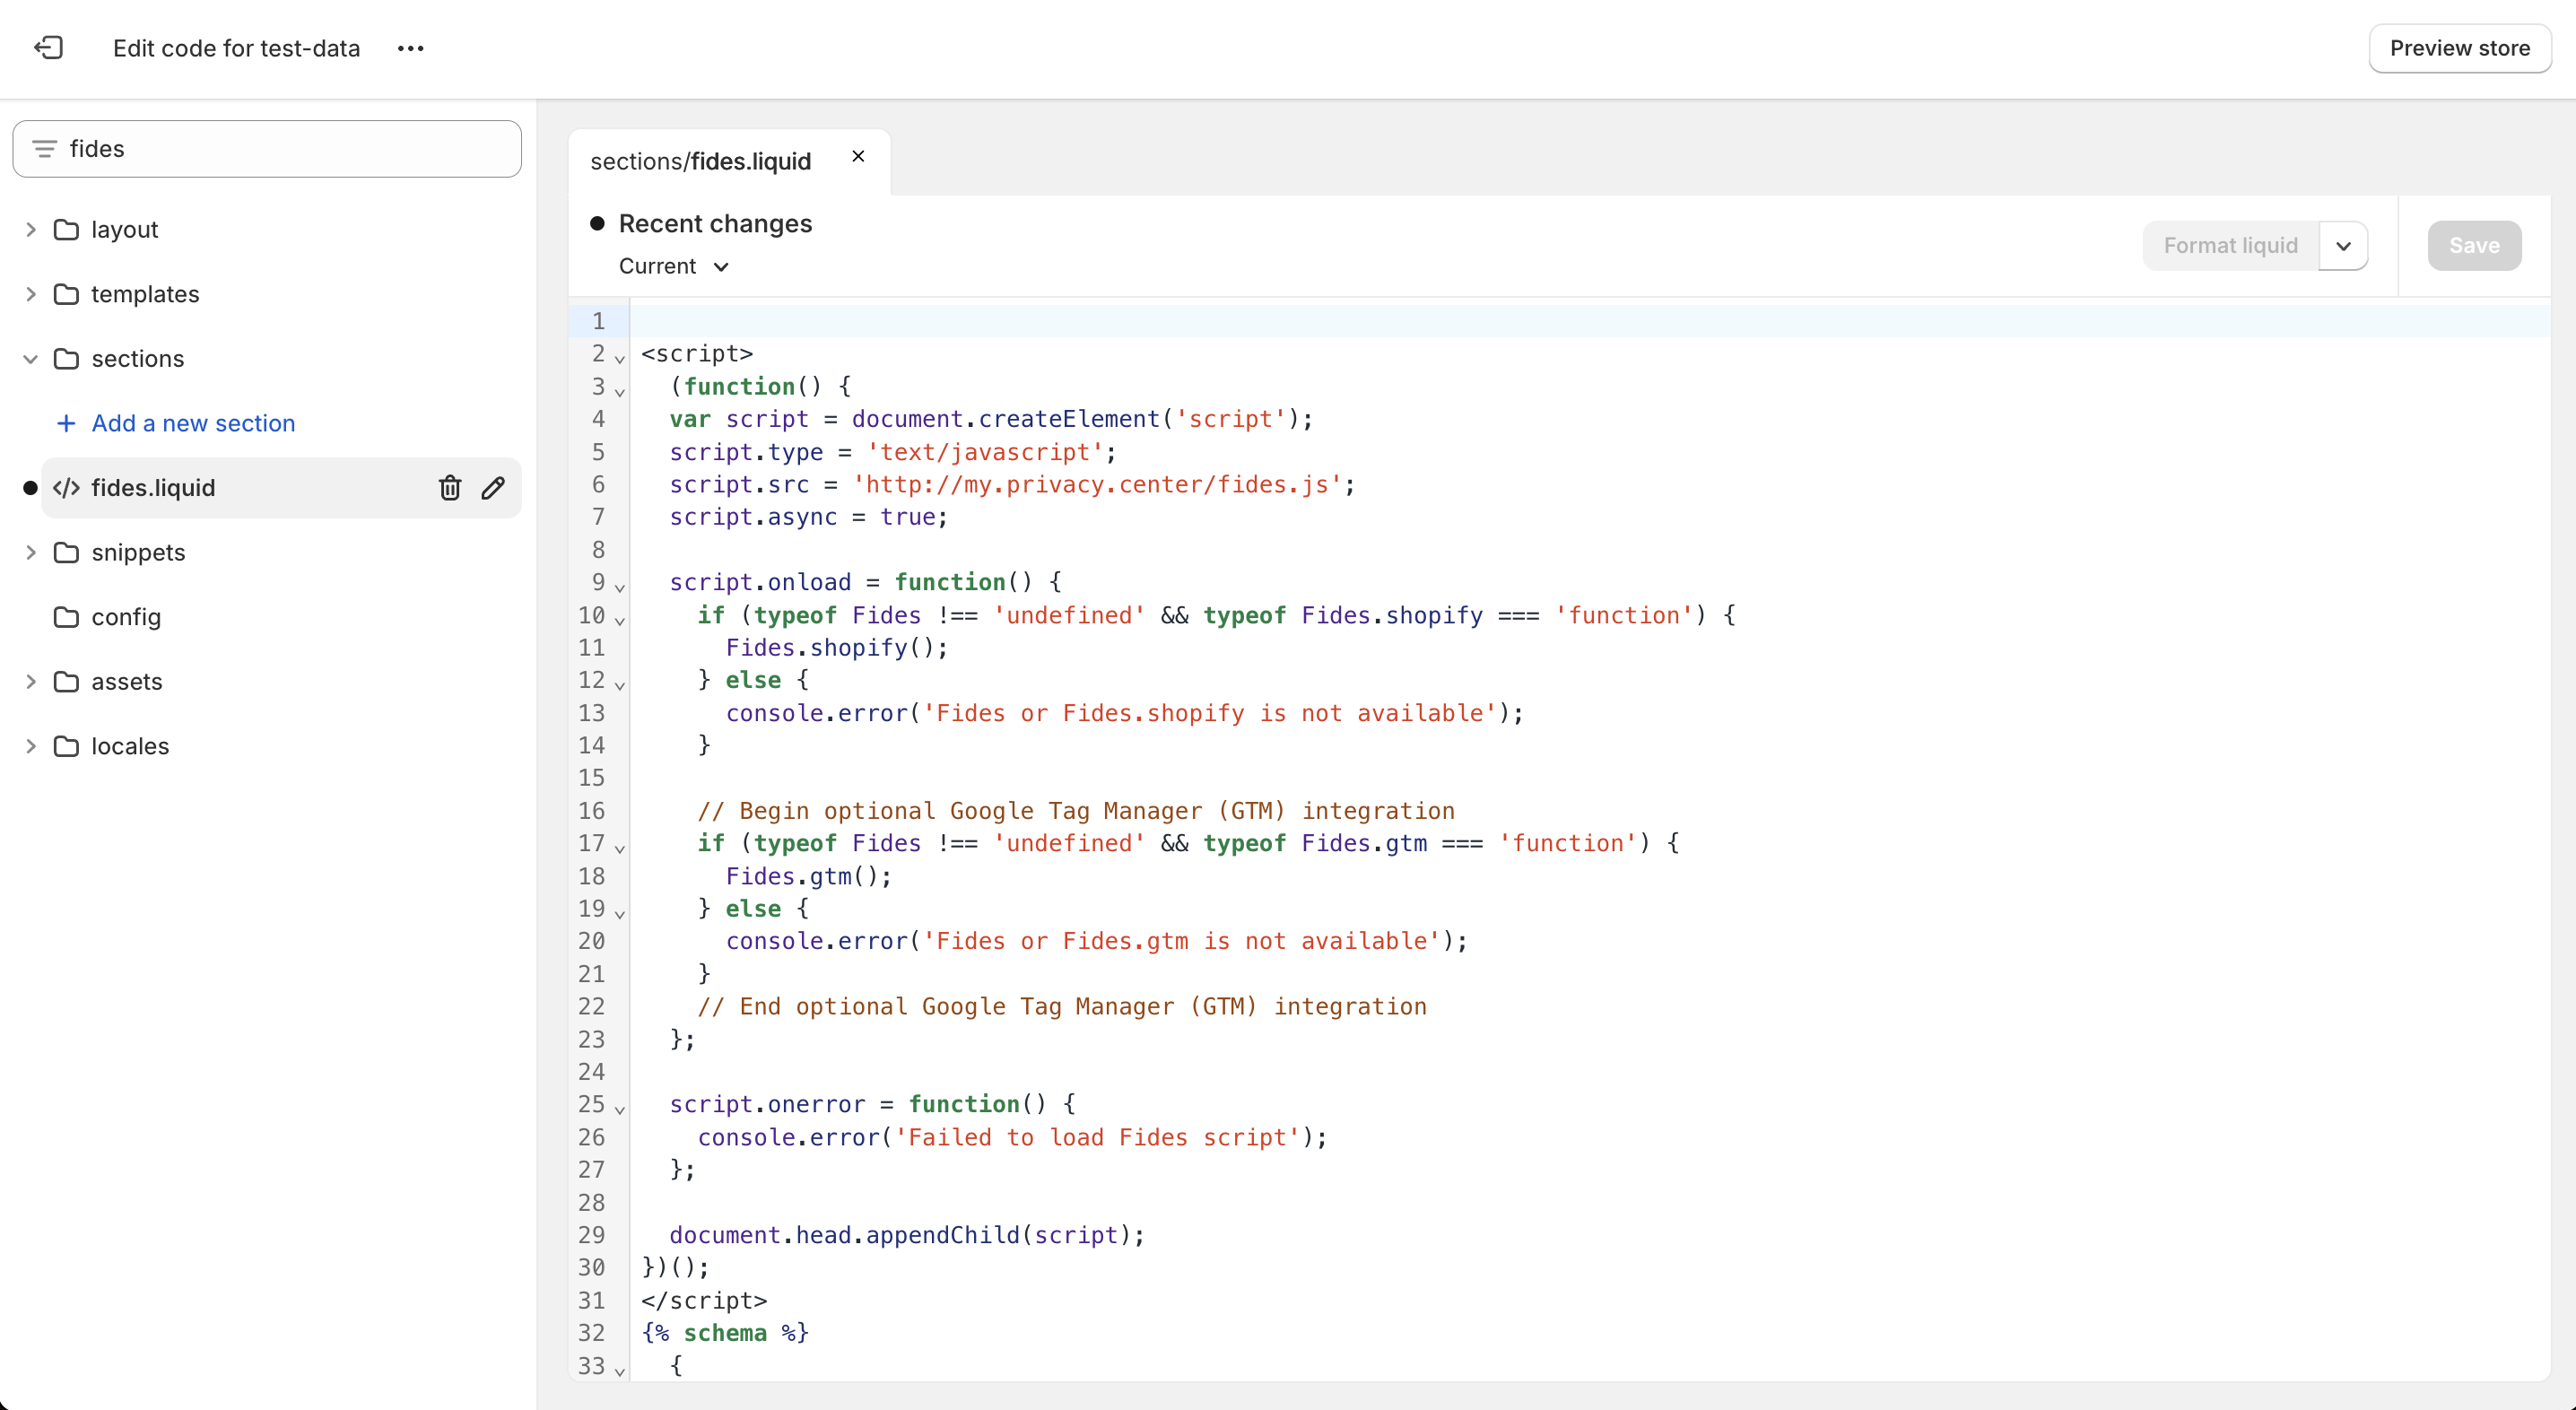
- Click Save to save the changes.
Now you're finished configuring your FidesJS section! Note that Fides.js won't show up on your storefront yet, as we have not included the section in the theme.
Add the FidesJS section to your Shopify theme
Now we need to add your FidesJS section to your theme. We do this by including it in the Footer.
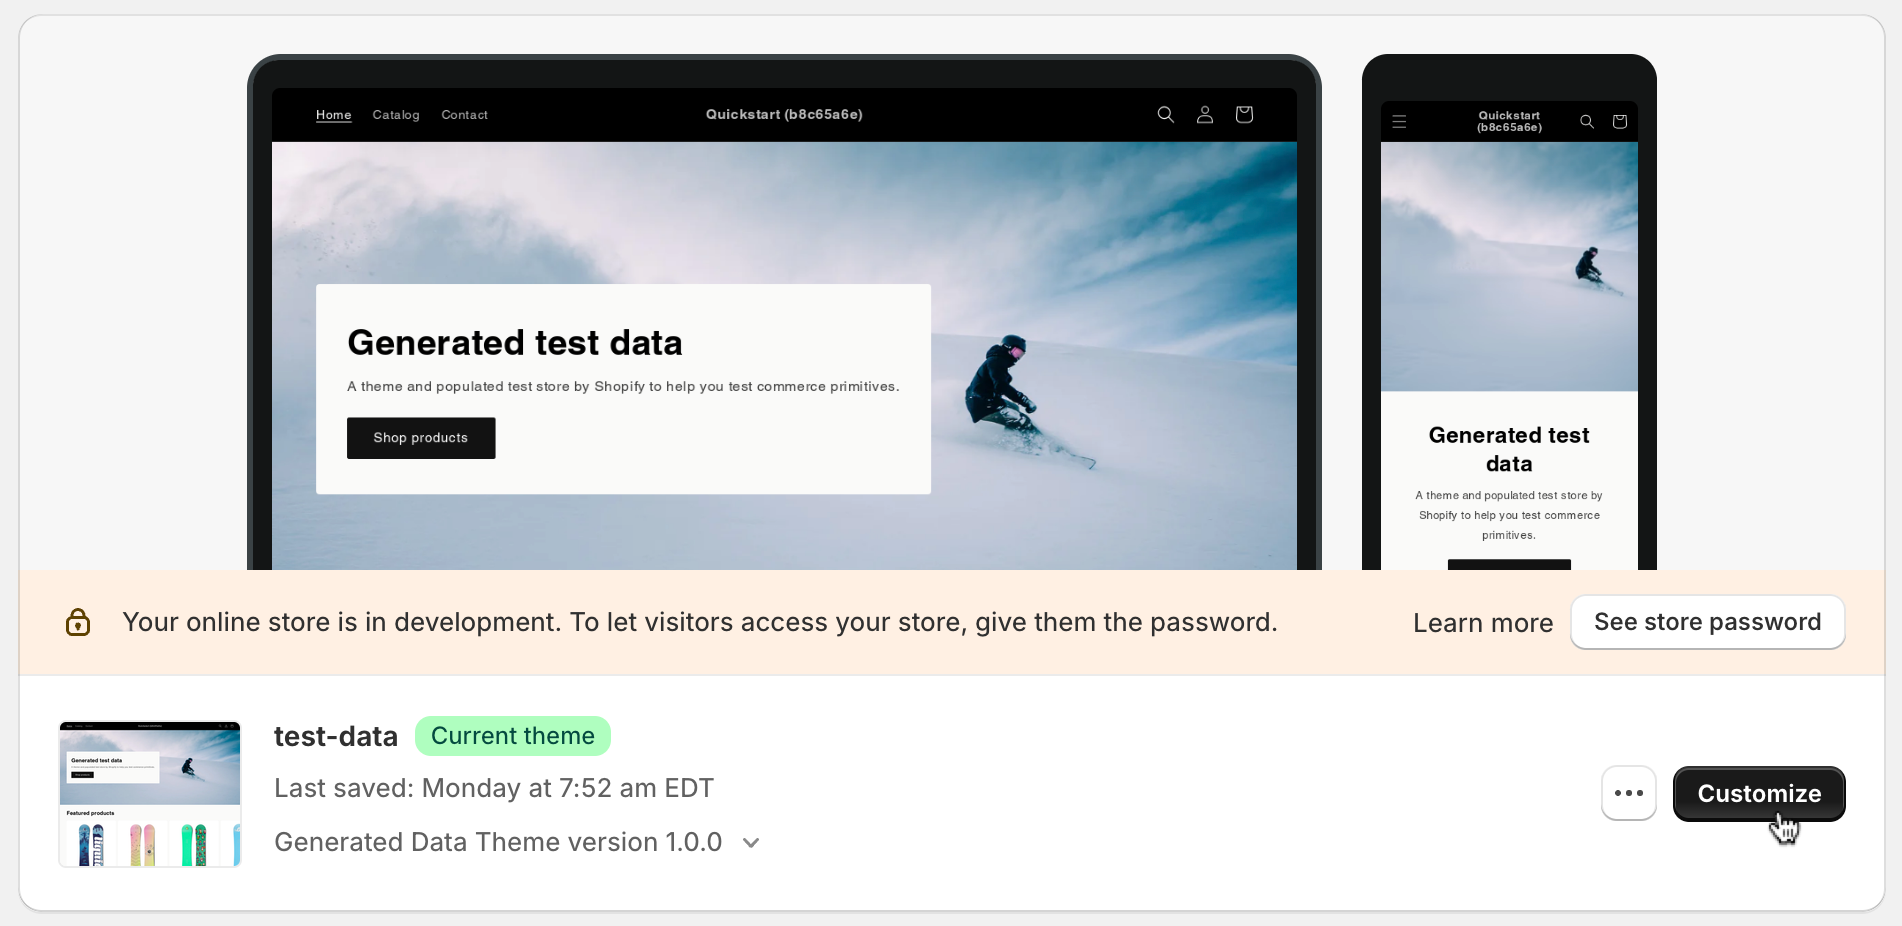
- Navigate to your Shopify admin dashboard and click on Online Store → Themes, then click on Customize:
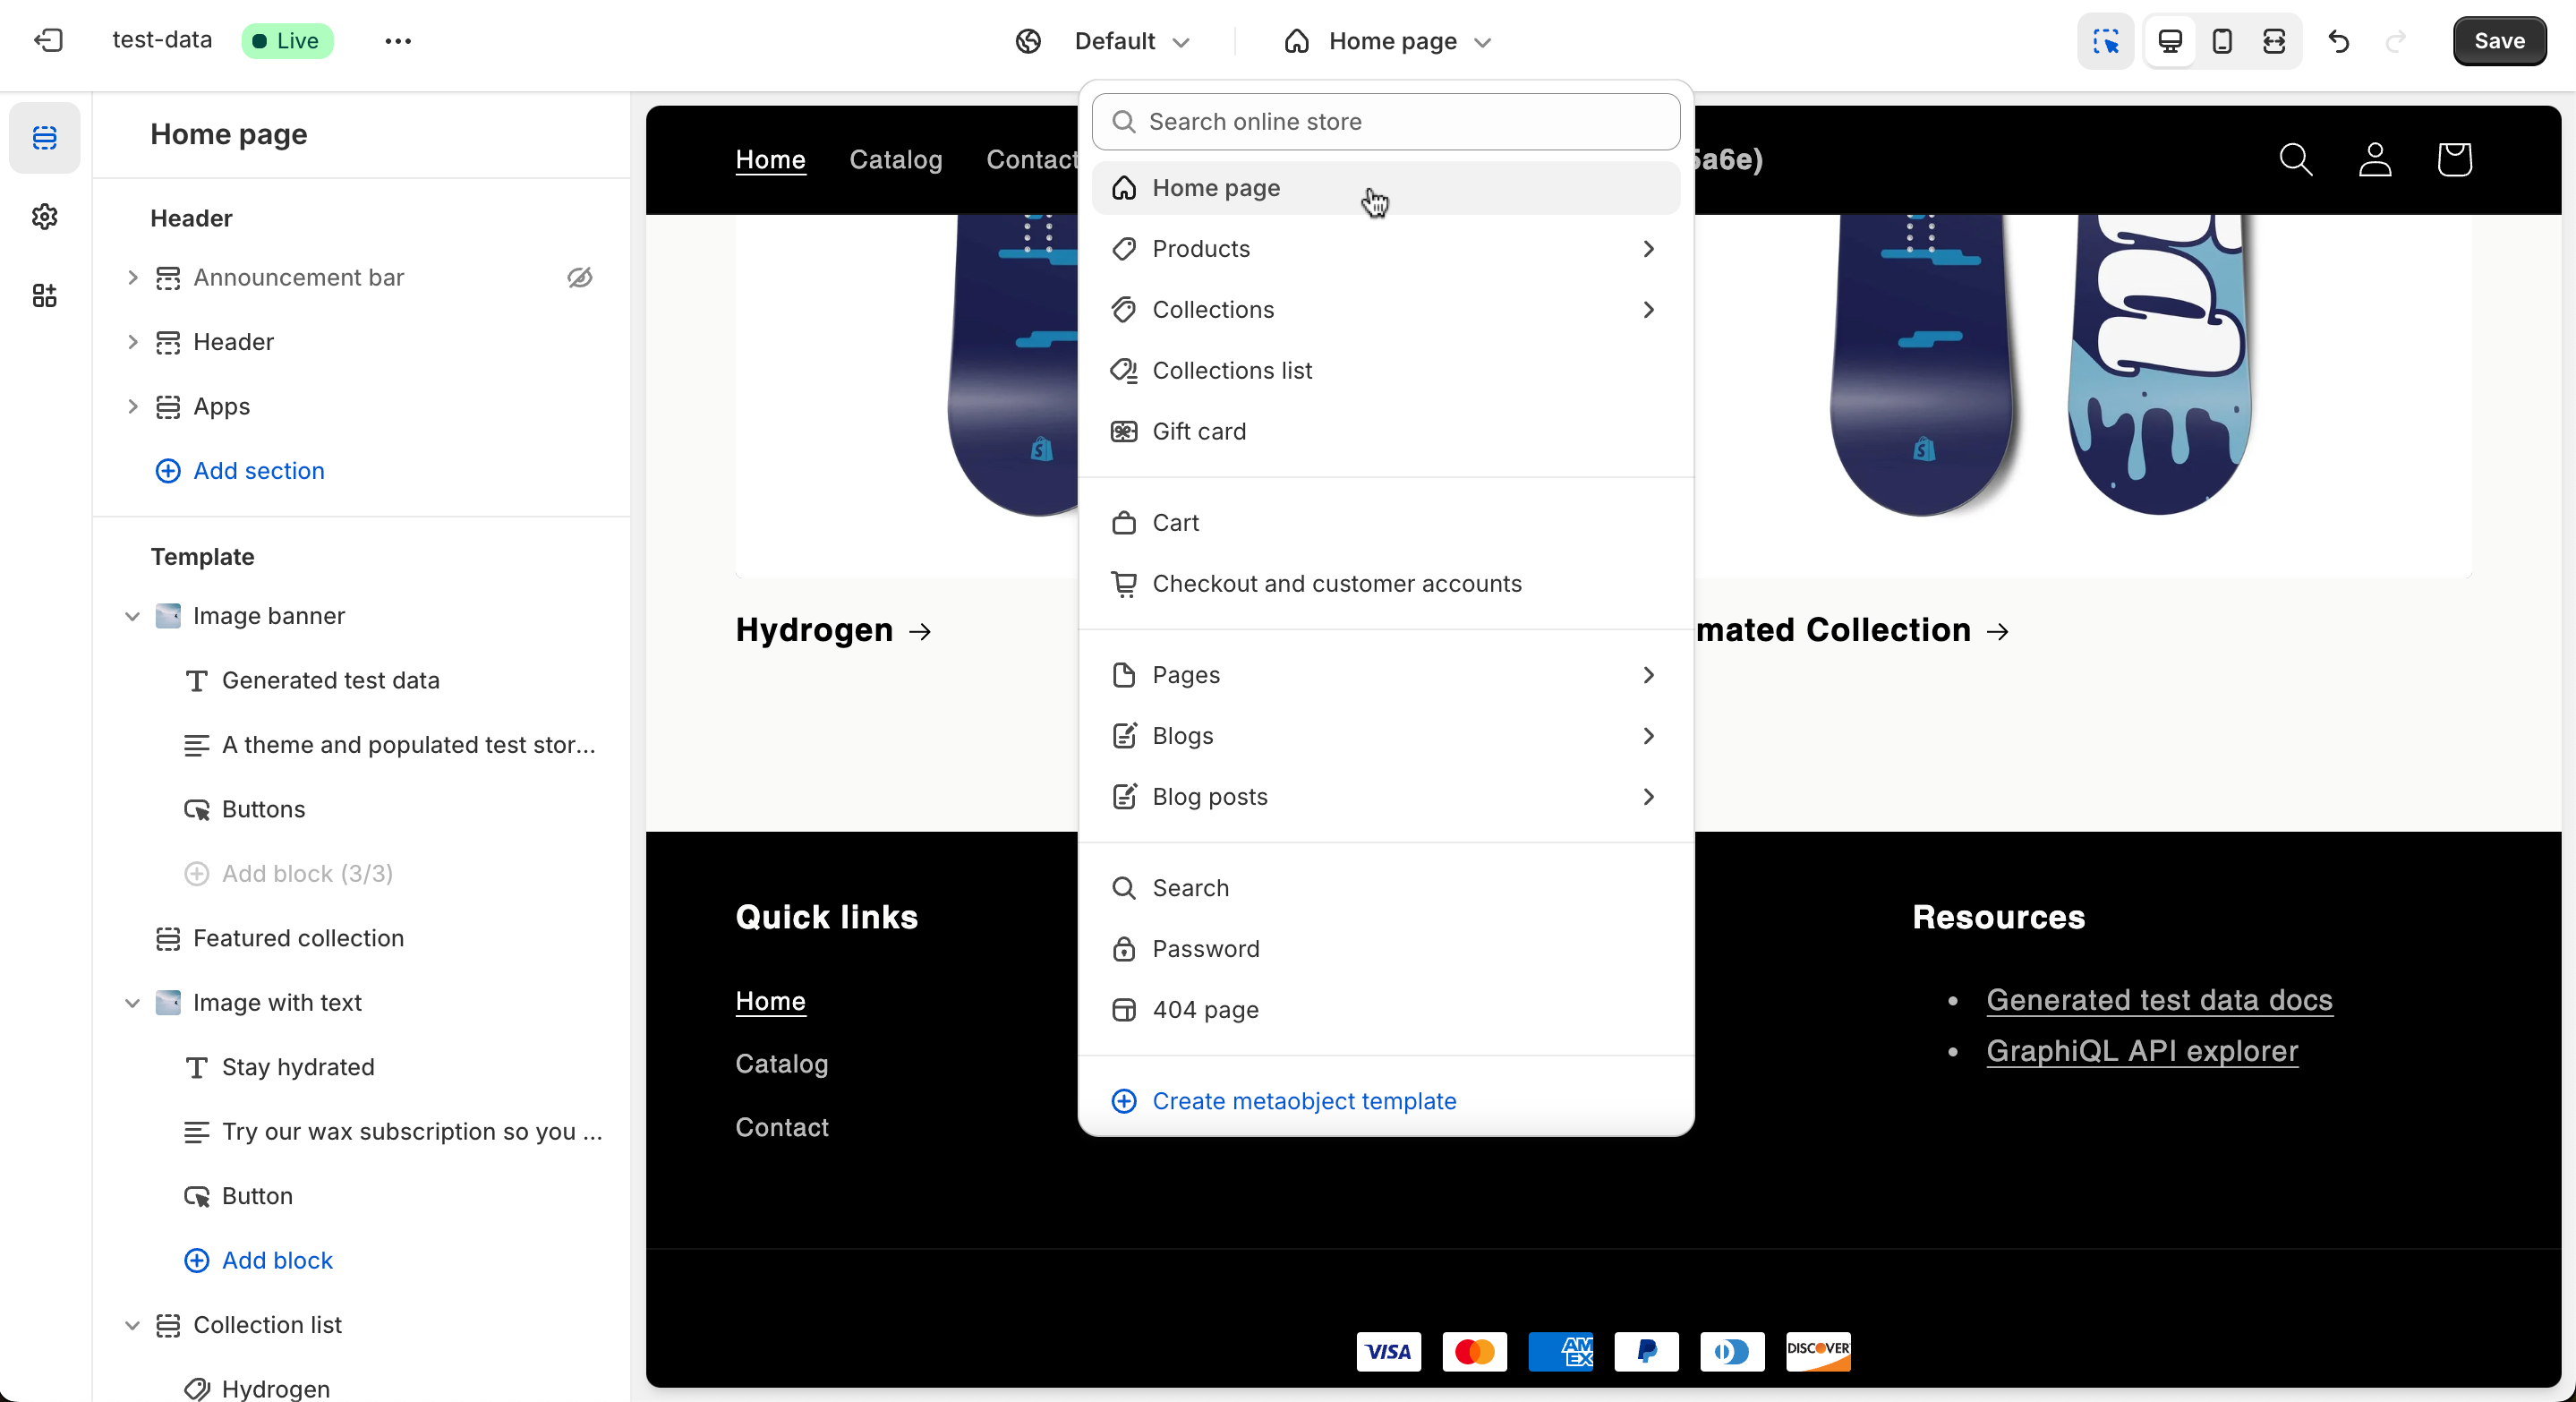
- Navigate to the home page customizations:
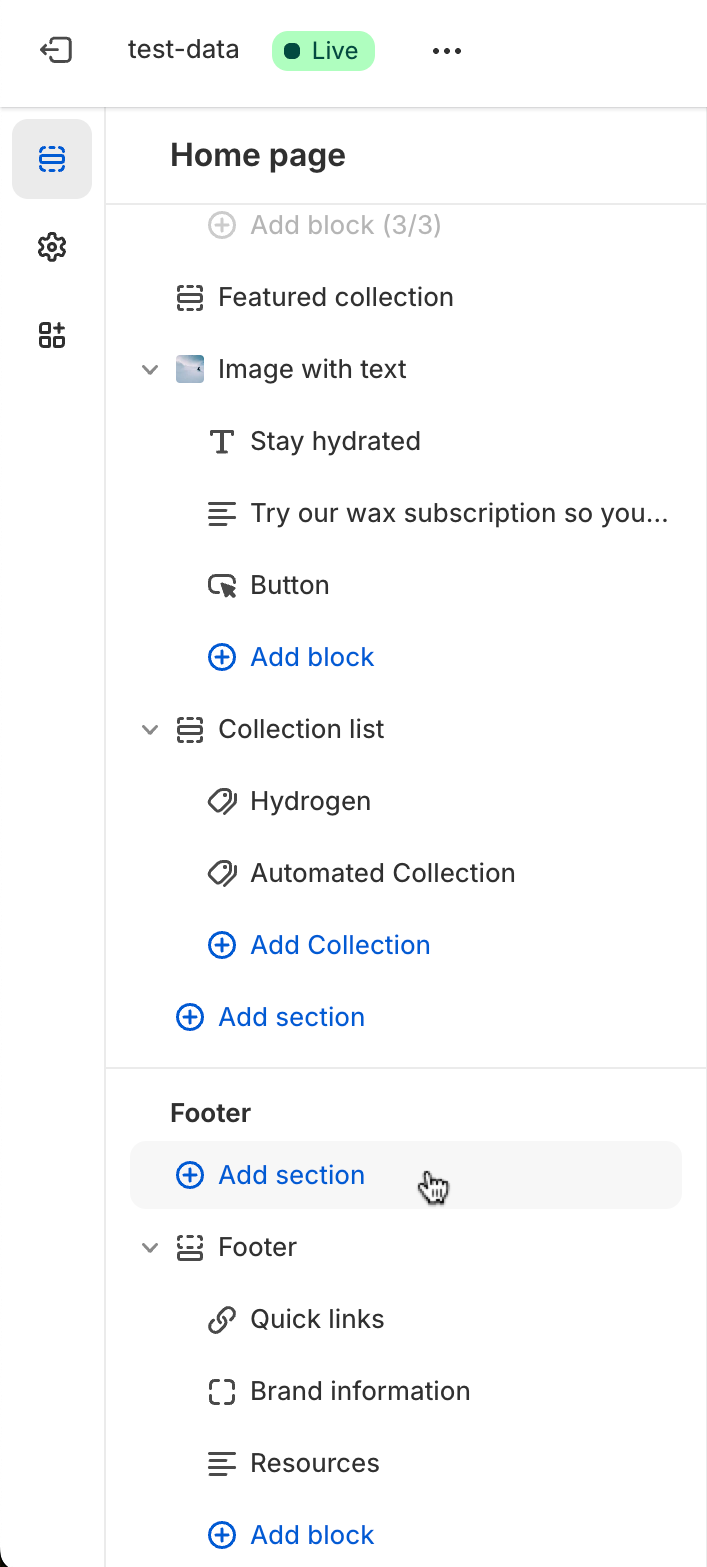
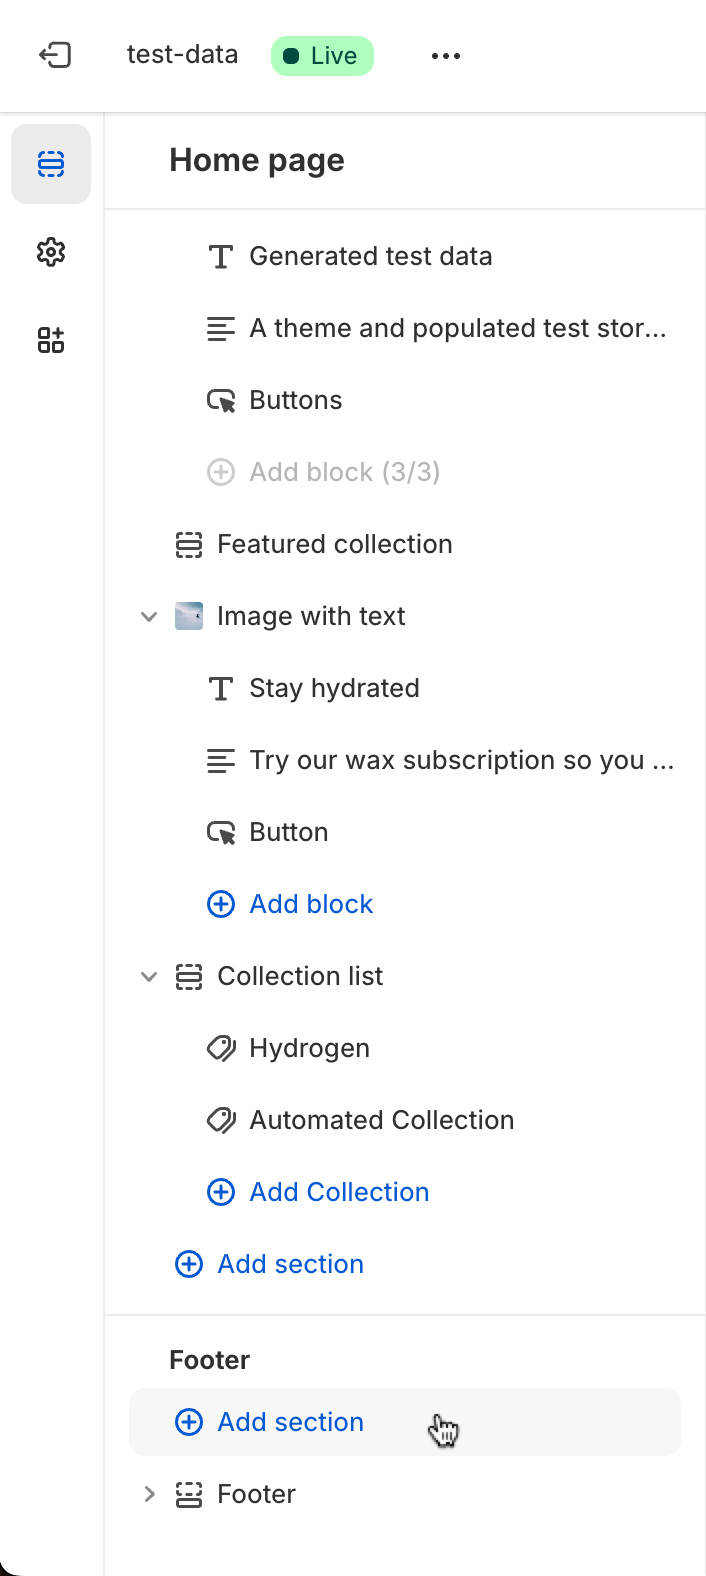
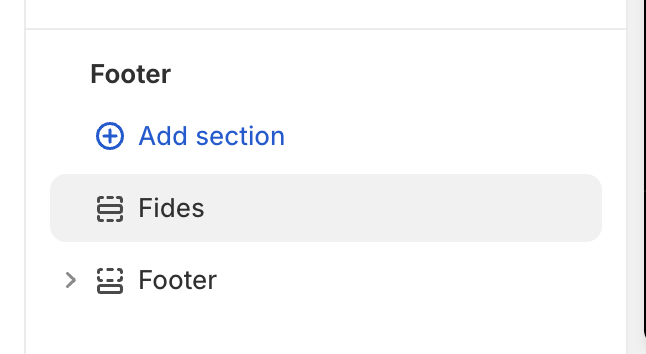
- Scroll down to the Footer area, then click on Add section in the footer:
-
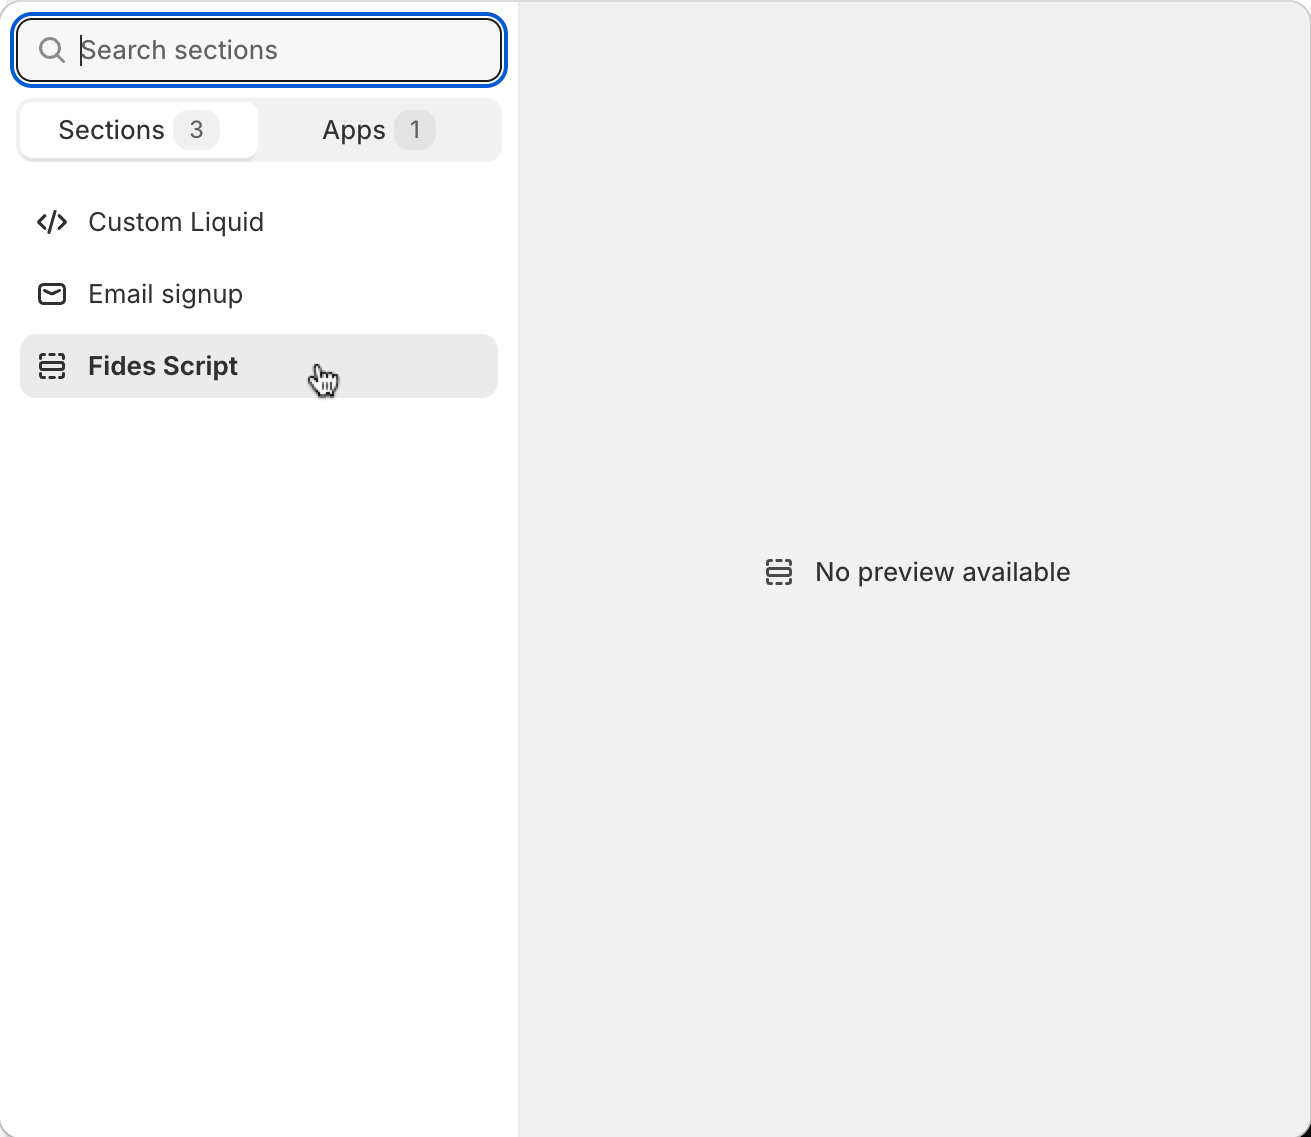
Select your custom FidesJS section:
-
Click Add to add the FidesJS section to the footer, then click Save to save the changes. Your footer should now include the FidesJS section:
-
(optional) You may want to add a link or button to your website footer. This will allow your users to manage their privacy preferences at any time.
Congrats! FidesJS is now installed on your Shopify store. You can now test the installation following the steps below.
Test Fides.js Installation
Once you have installed the fides.js script on your Shopify store, you can do some quick tests before fully configuring your consent solution. Here are three easy checks:
- Open your updated Shopify store in your web browser
- Inspect the source code of your website and ensure that the
<script src="path/to/fides.js"></script>is present - Open the Developer Console and run
window.Fidesand ensure that you see a valid Javascript object like:
{consent: {…}, experience: undefined, geolocation: undefined, options: {…}, fides_meta: {…}, …}What's next?
Now that you have FidesJS installed on your Shopify store, you can move on to configuring Google tags to respect consent in your Fides organization.