Data Mapping: Automated System Detection
Introduction
In this tutorial, you'll add a new system to your data map using Fides' Discovery Scanners. By the end of this tutorial, you'll understand, and be able to use Fides' various detection tools to discover systems in your cloud host and single sign-on providers as well as low-level network dataflow analysis.
Prerequisites
For this tutorial you will need:
- A Fides Cloud or Fides Enterprise account
- The role of
OwnerorContributorfor your Fides organization. - Adequately scoped credentials for the scan target, such as Cloud Provider or Single Sign-On Provider.
- If you are using Fides' Network Data Flow scanner this must be deployed in your cloud.
Automated System Detection
In this step, you'll add a system to your data map using Fides' automated scanning and detection tools:
- Detect systems with the cloud scanner for AWS
- Detect systems with the sign-on scanner for Okta
- Detect systems by scanning network data flows
Cloud System Detection for AWS
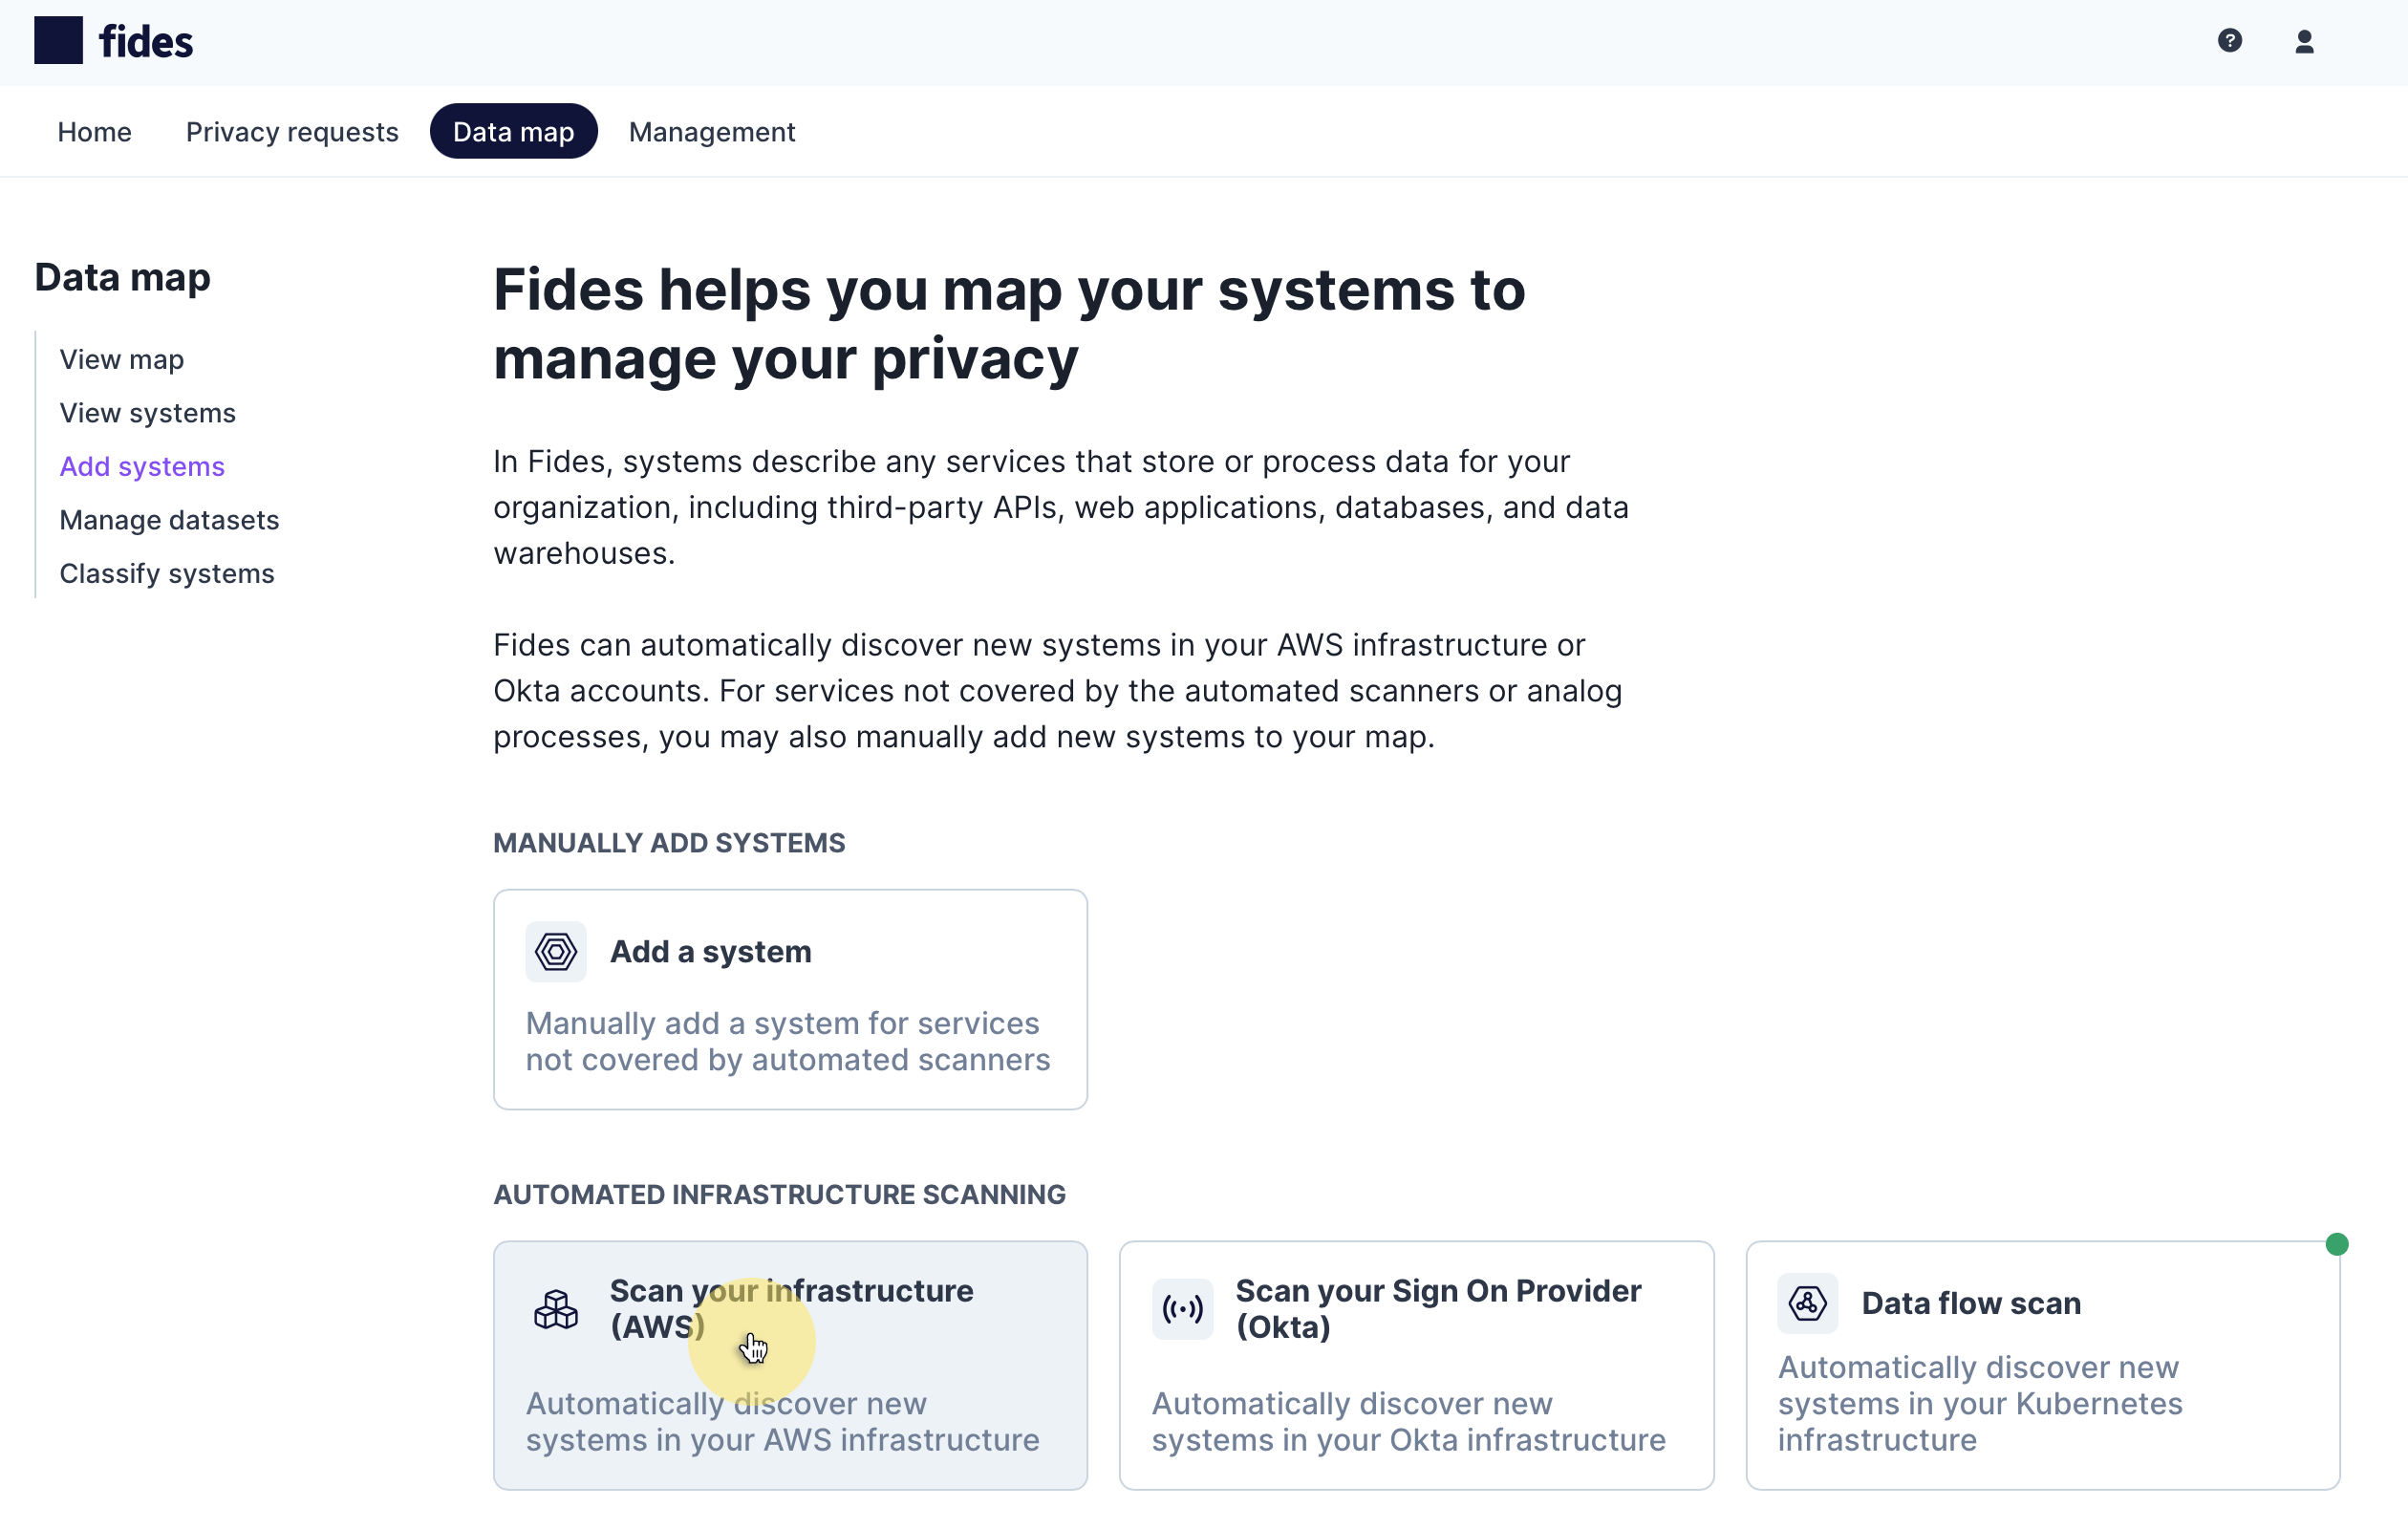
To start, navigate to Data map → Add systems and choose Scan your infrastructure to scan automatically.
Authenticate Fides to your Cloud
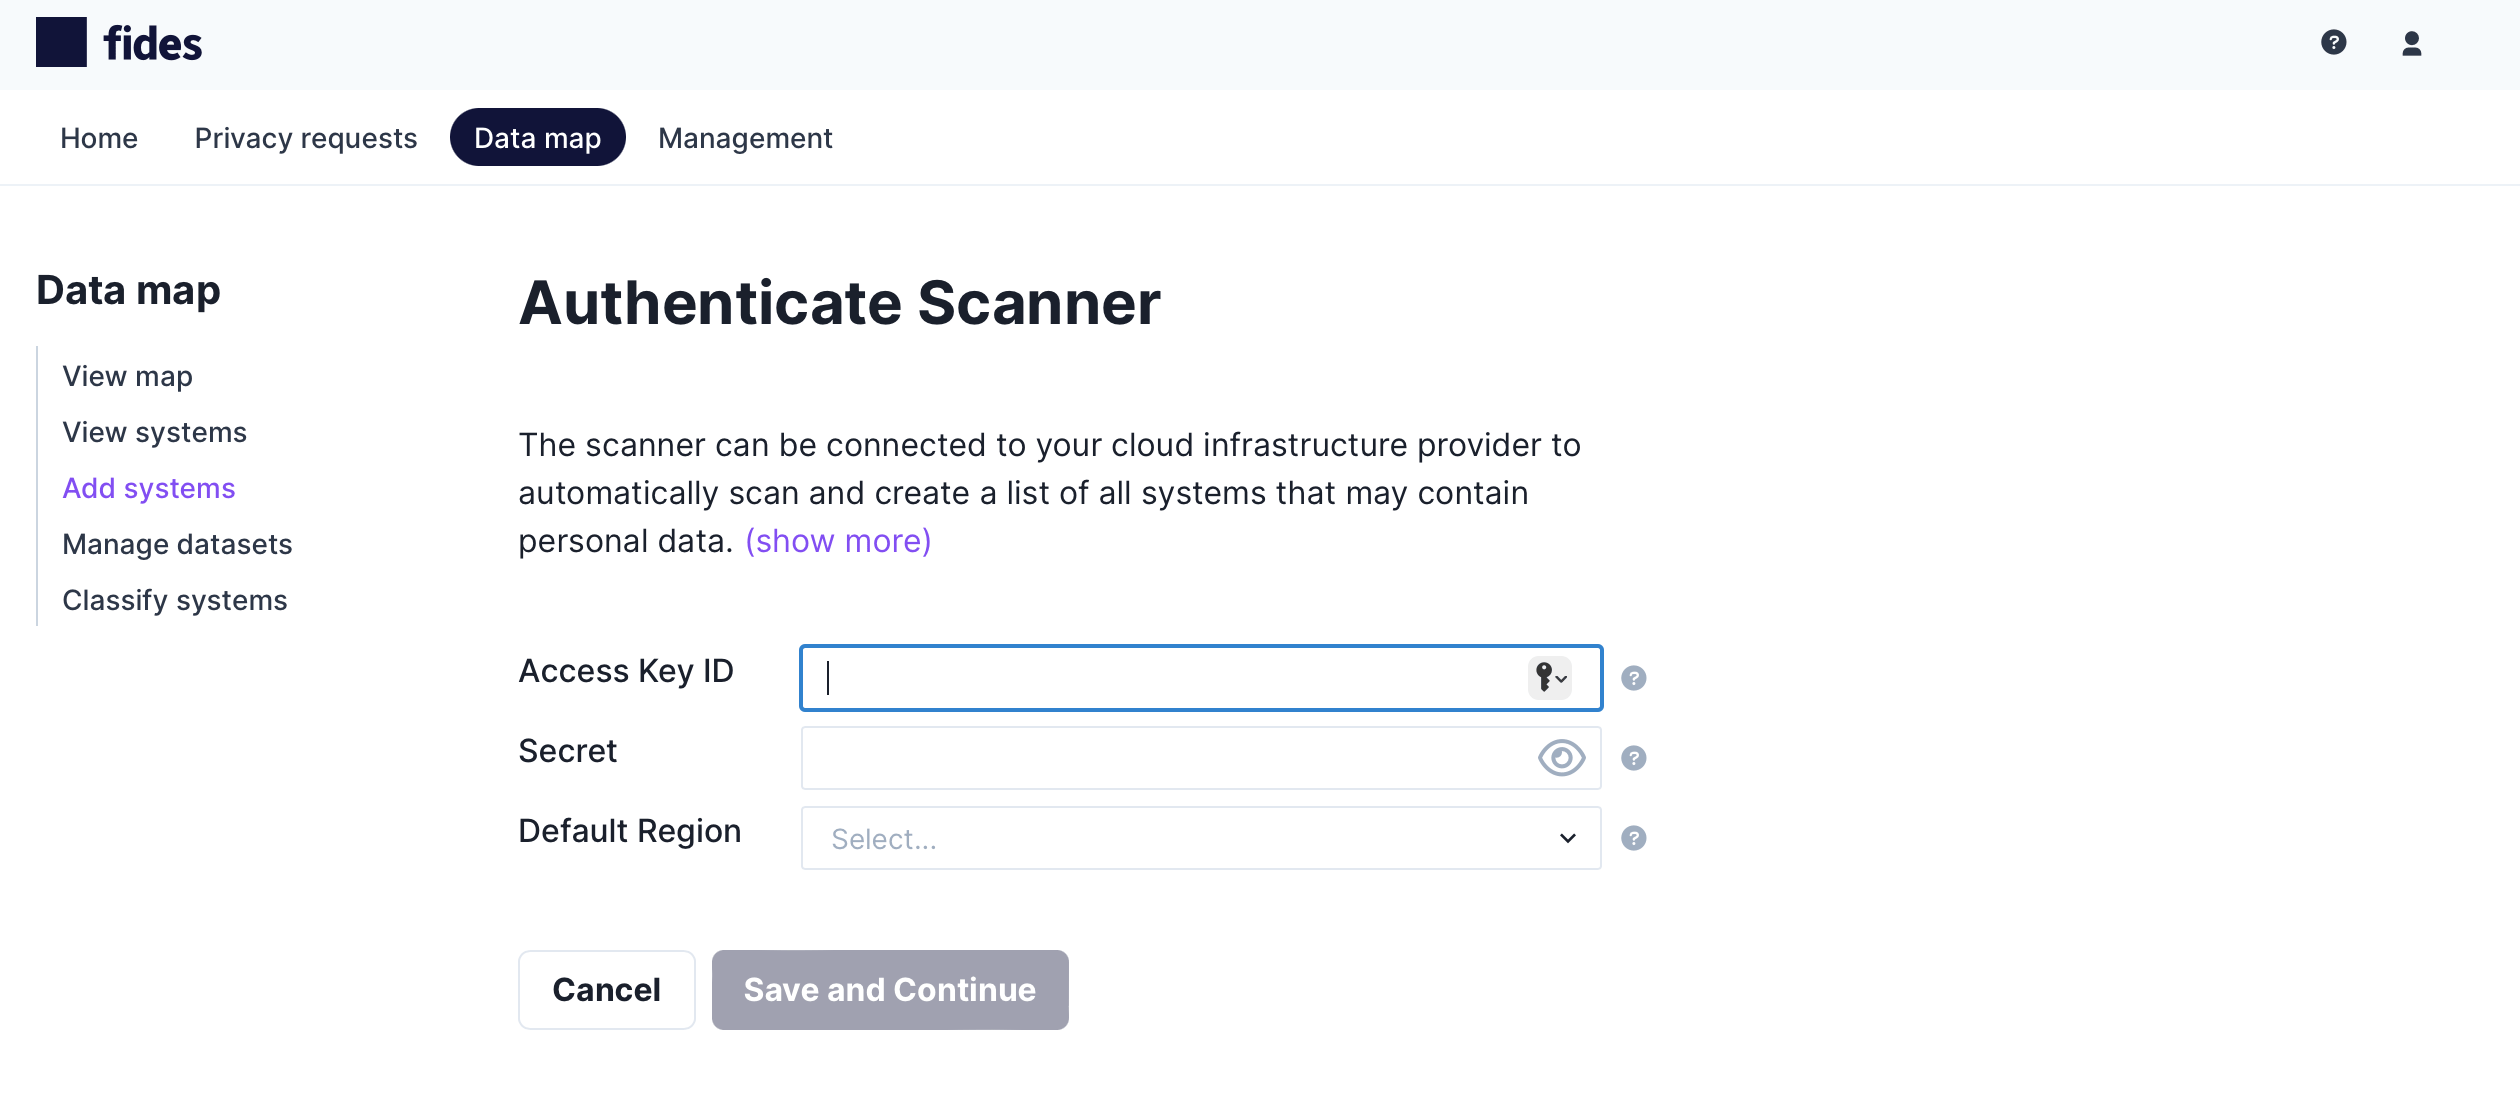
To automatically detect systems you must first authenticate the cloud infrastructure scanner to your AWS cloud by providing the following information:
- Access Key ID - The Access Key ID created by the cloud hosting provider.
- Secret - The secret associated with the Access Key ID used for authentication.
- Default Region - The geographic region of the cloud hosting provider you would like to scan.
Required Scopes for Fides
The identity which is authenticated must have appropriate permissions to complete the scan:
redshift:DescribeClustersrds:DescribeDBInstancesrds:DescribeDBClusters
These permissions can be manually configured via your AWS IAM policy management or supplied via an IAM policy similar to the following. For more information on permissions in AWS, read AWS' overview of access management here.
{
    "Version": "2012-10-17",
    "Statement": [
        {
            "Effect": "Allow",
            "Action": [
                "redshift:DescribeClusters",
                "rds:DescribeDBInstances",
                "rds:DescribeDBClusters",
                "tag:GetResources",
            ],
            "Resource": "*"
        }
    ]
}
Add Detected Systems to the Data Map
When the scan has completed, you will be presented with a list of systems detected in your AWS cloud. You will see the scanner displays the system name, type and the resource's identifier which is typically the ARN (Amazon Resource Name) for the detected system:
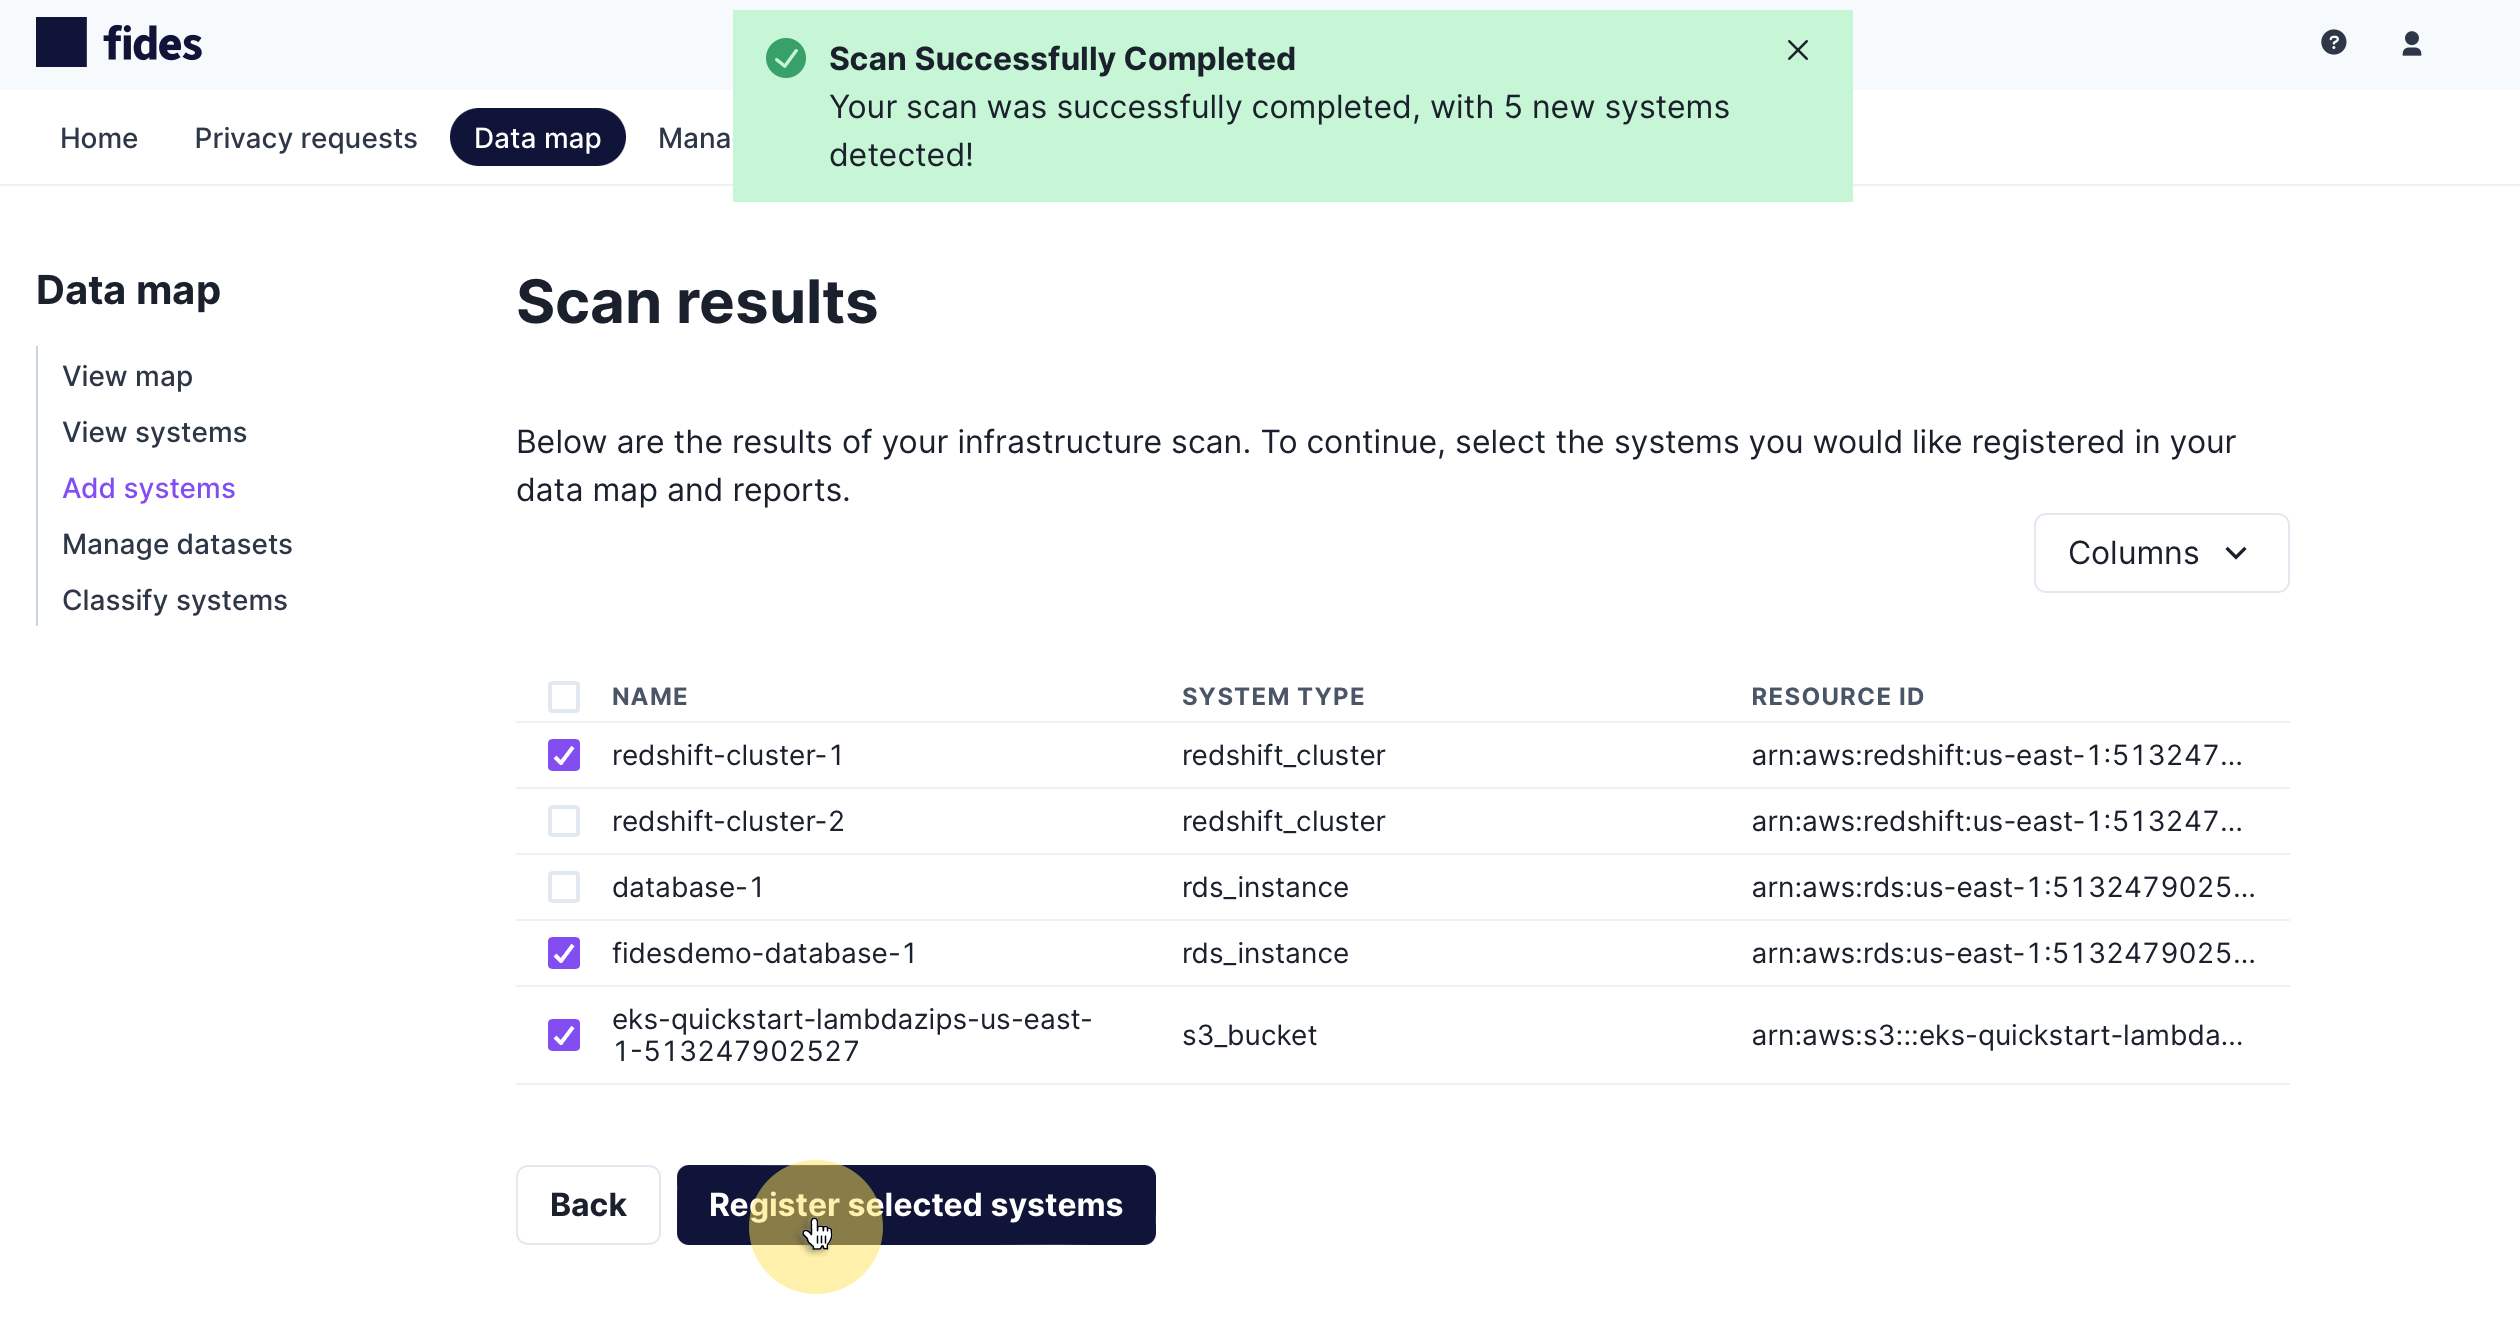
To add the scan results to your data map, check on the systems you would like to add and click Register selected systems.
Single Sign-on Detection for Okta
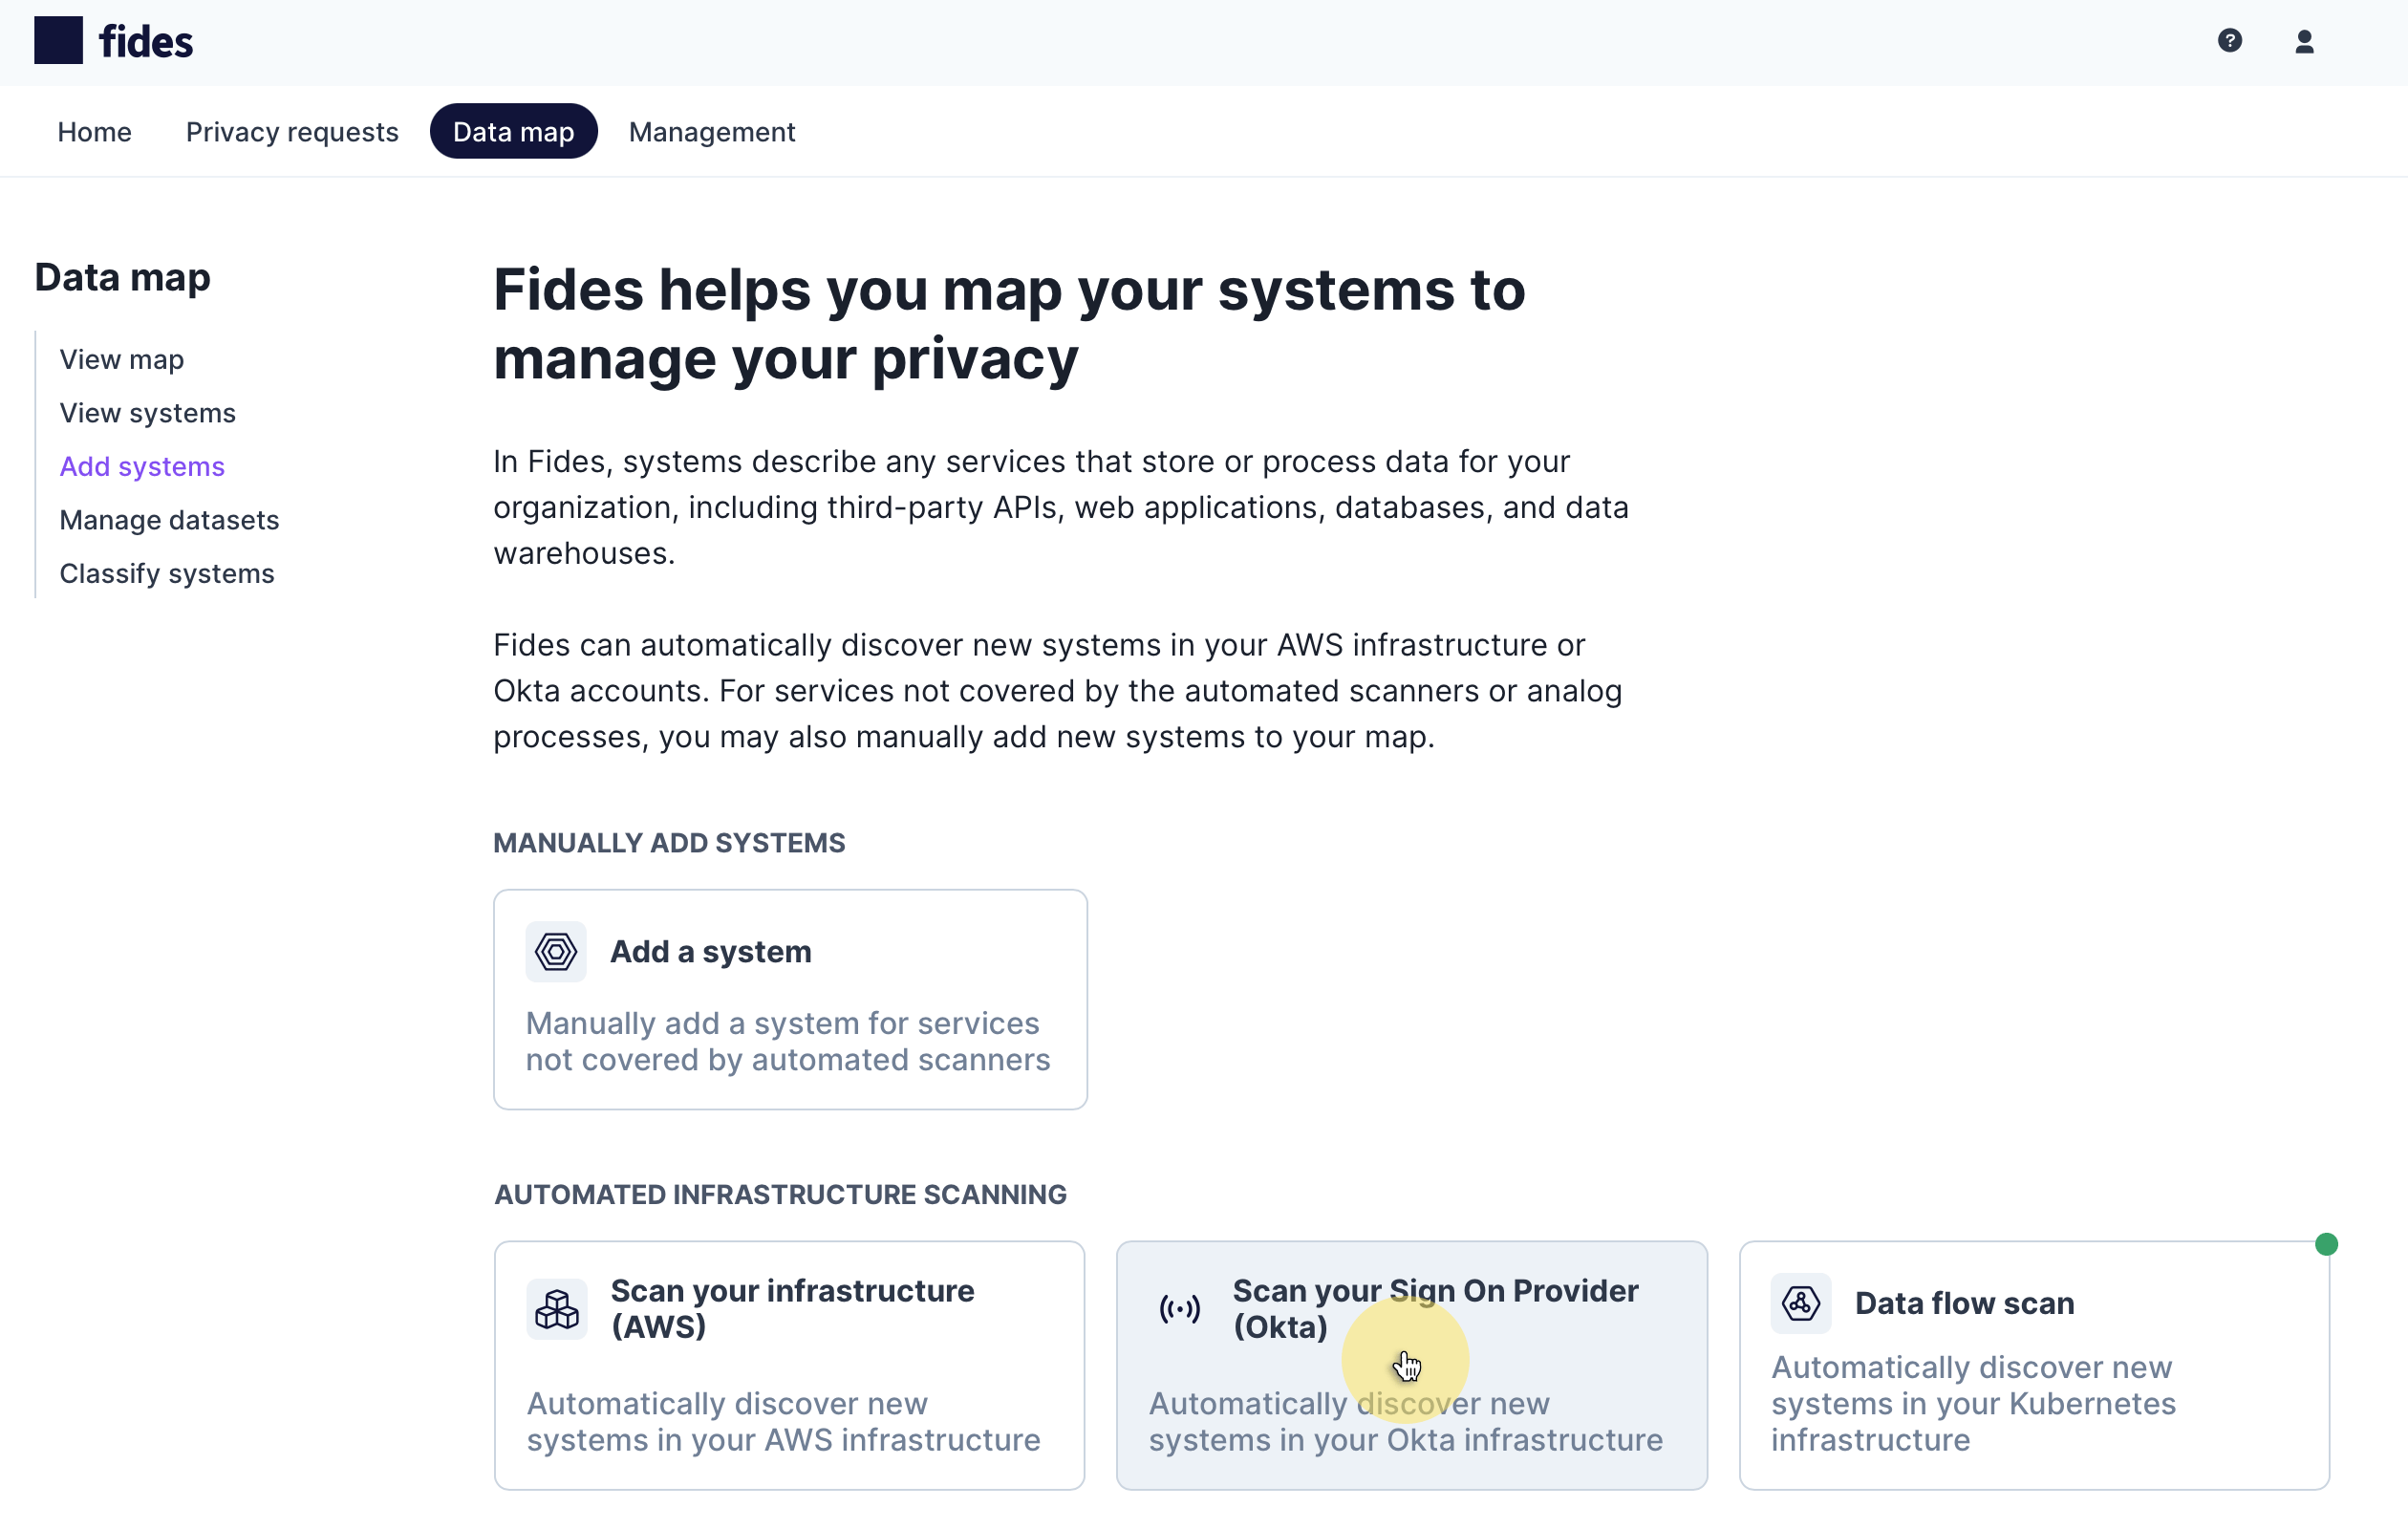
To start, navigate to Data map → Add systems and choose Scan your Sign On Provider to scan automatically.
Authenticate Fides to your Single Sign-on Provider
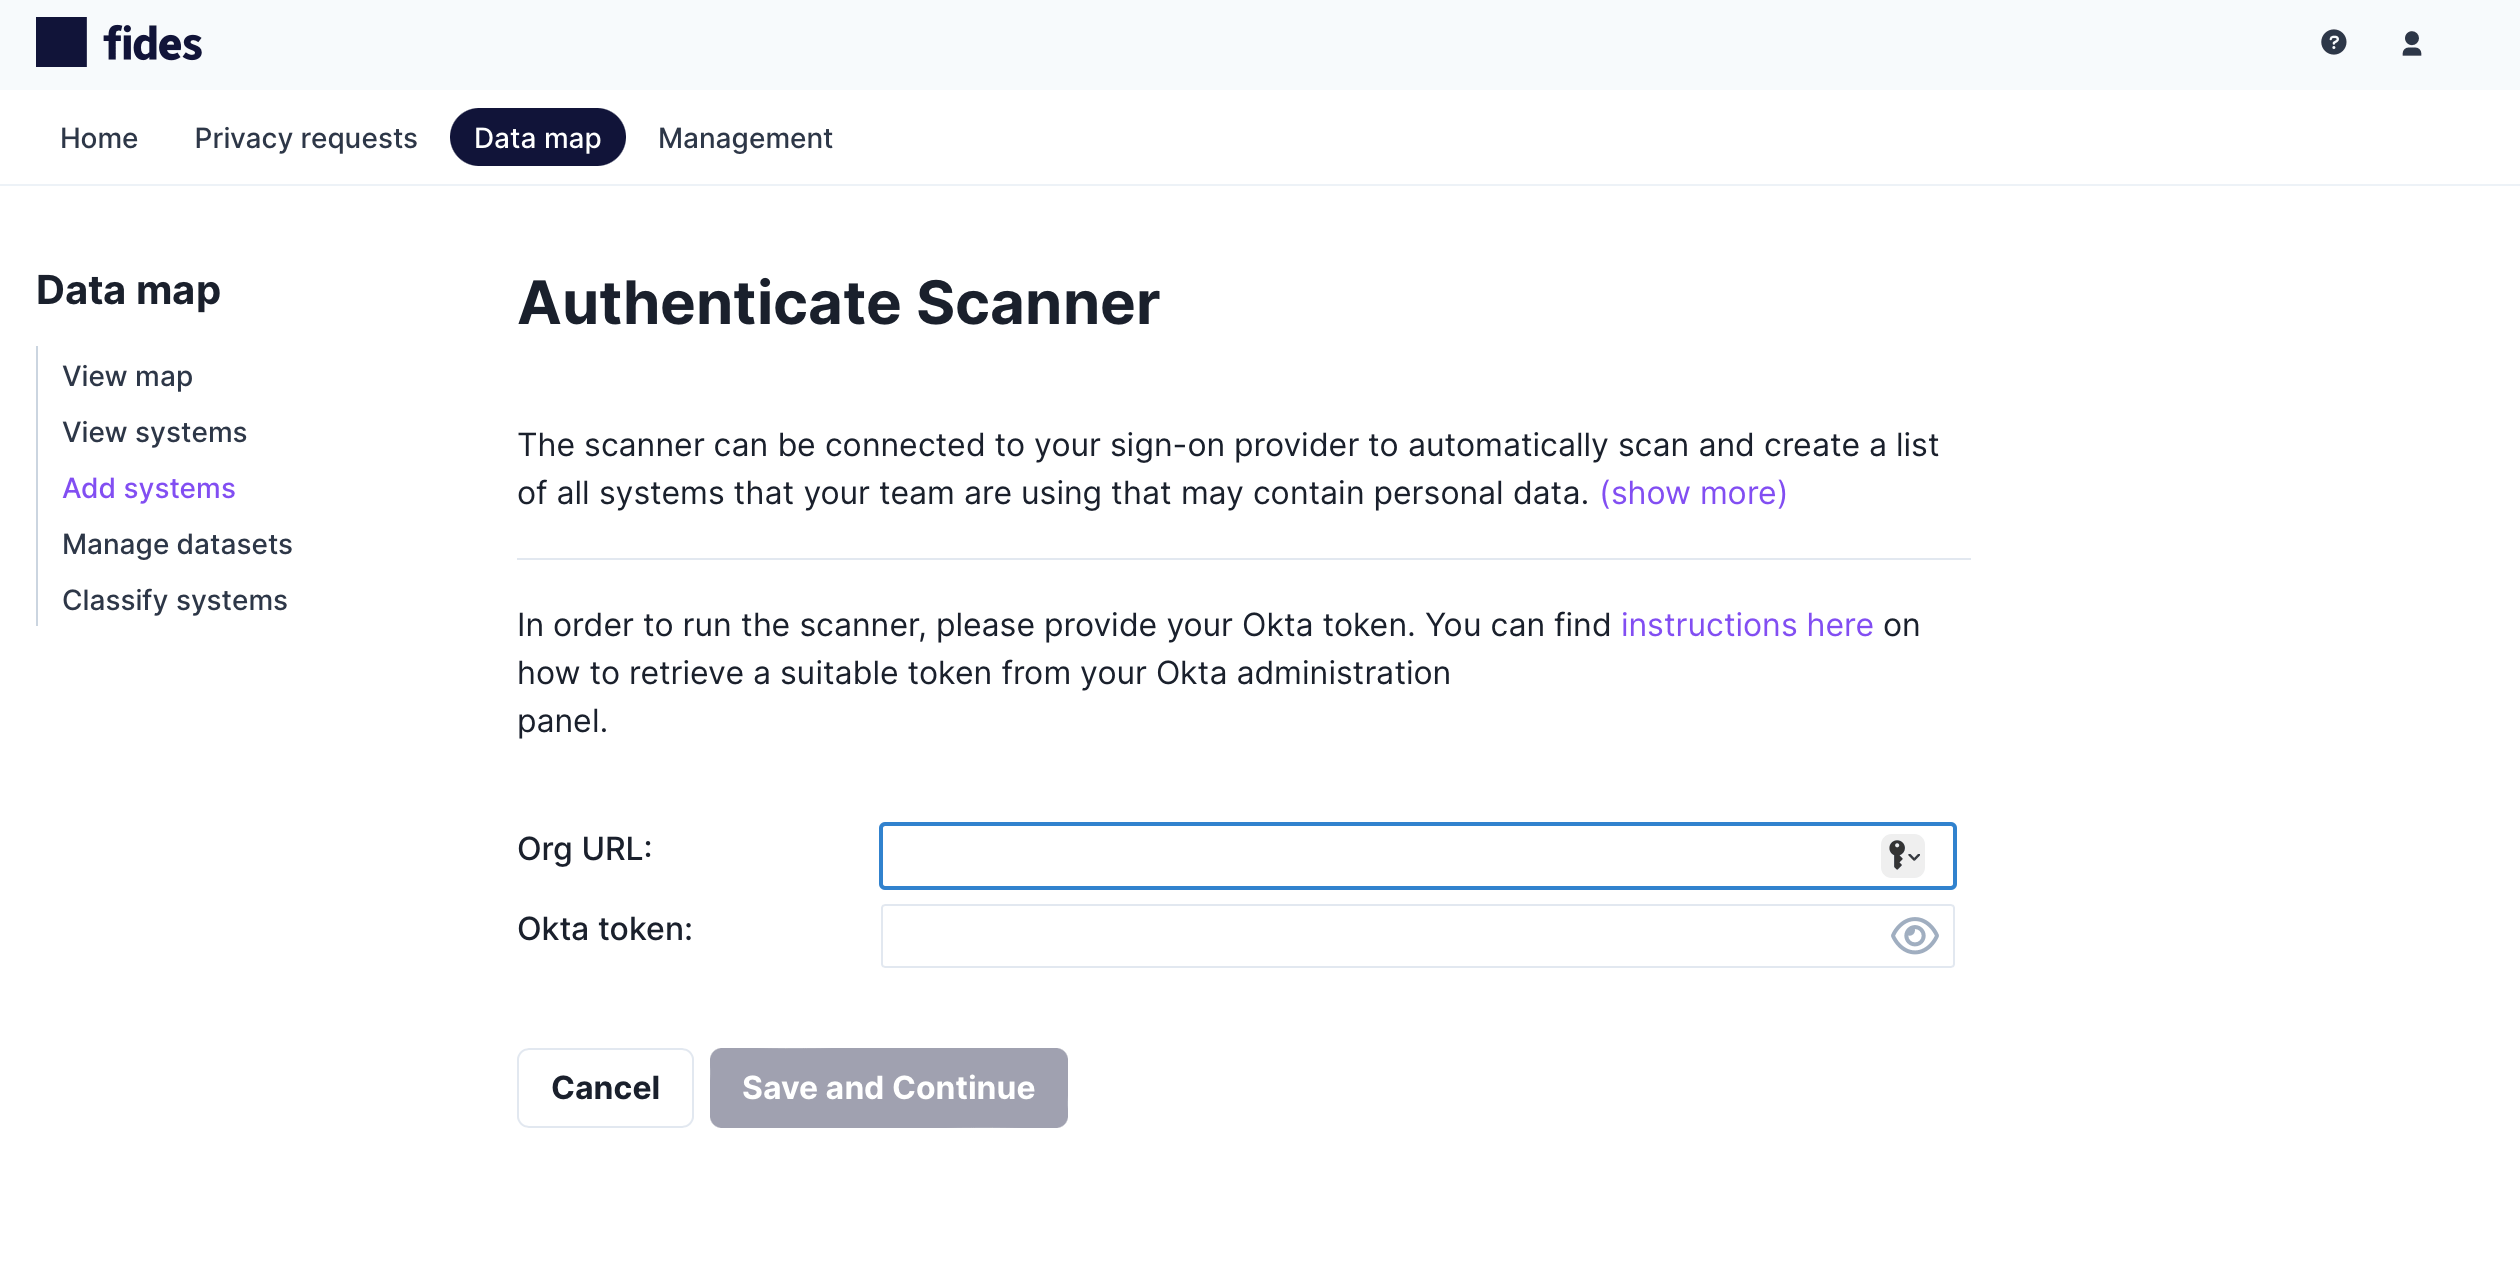
To automatically detect systems you must first authenticate the single sign-on scanner to your Okta account by providing the following information. For more information on roles and generating API tokens, read Okta's guide to API token management here.
- Domain - The URL for your organization's account on Okta.
- Okta token - The token generated by Okta for your account.
Add Detected Systems to the Data Map
When the scan has completed, you will be presented with a list of systems detected in your Okta account. You will see the scanner displays the system name, type and the resource's identifier which is typically the unique ID in Okta for the detected system:
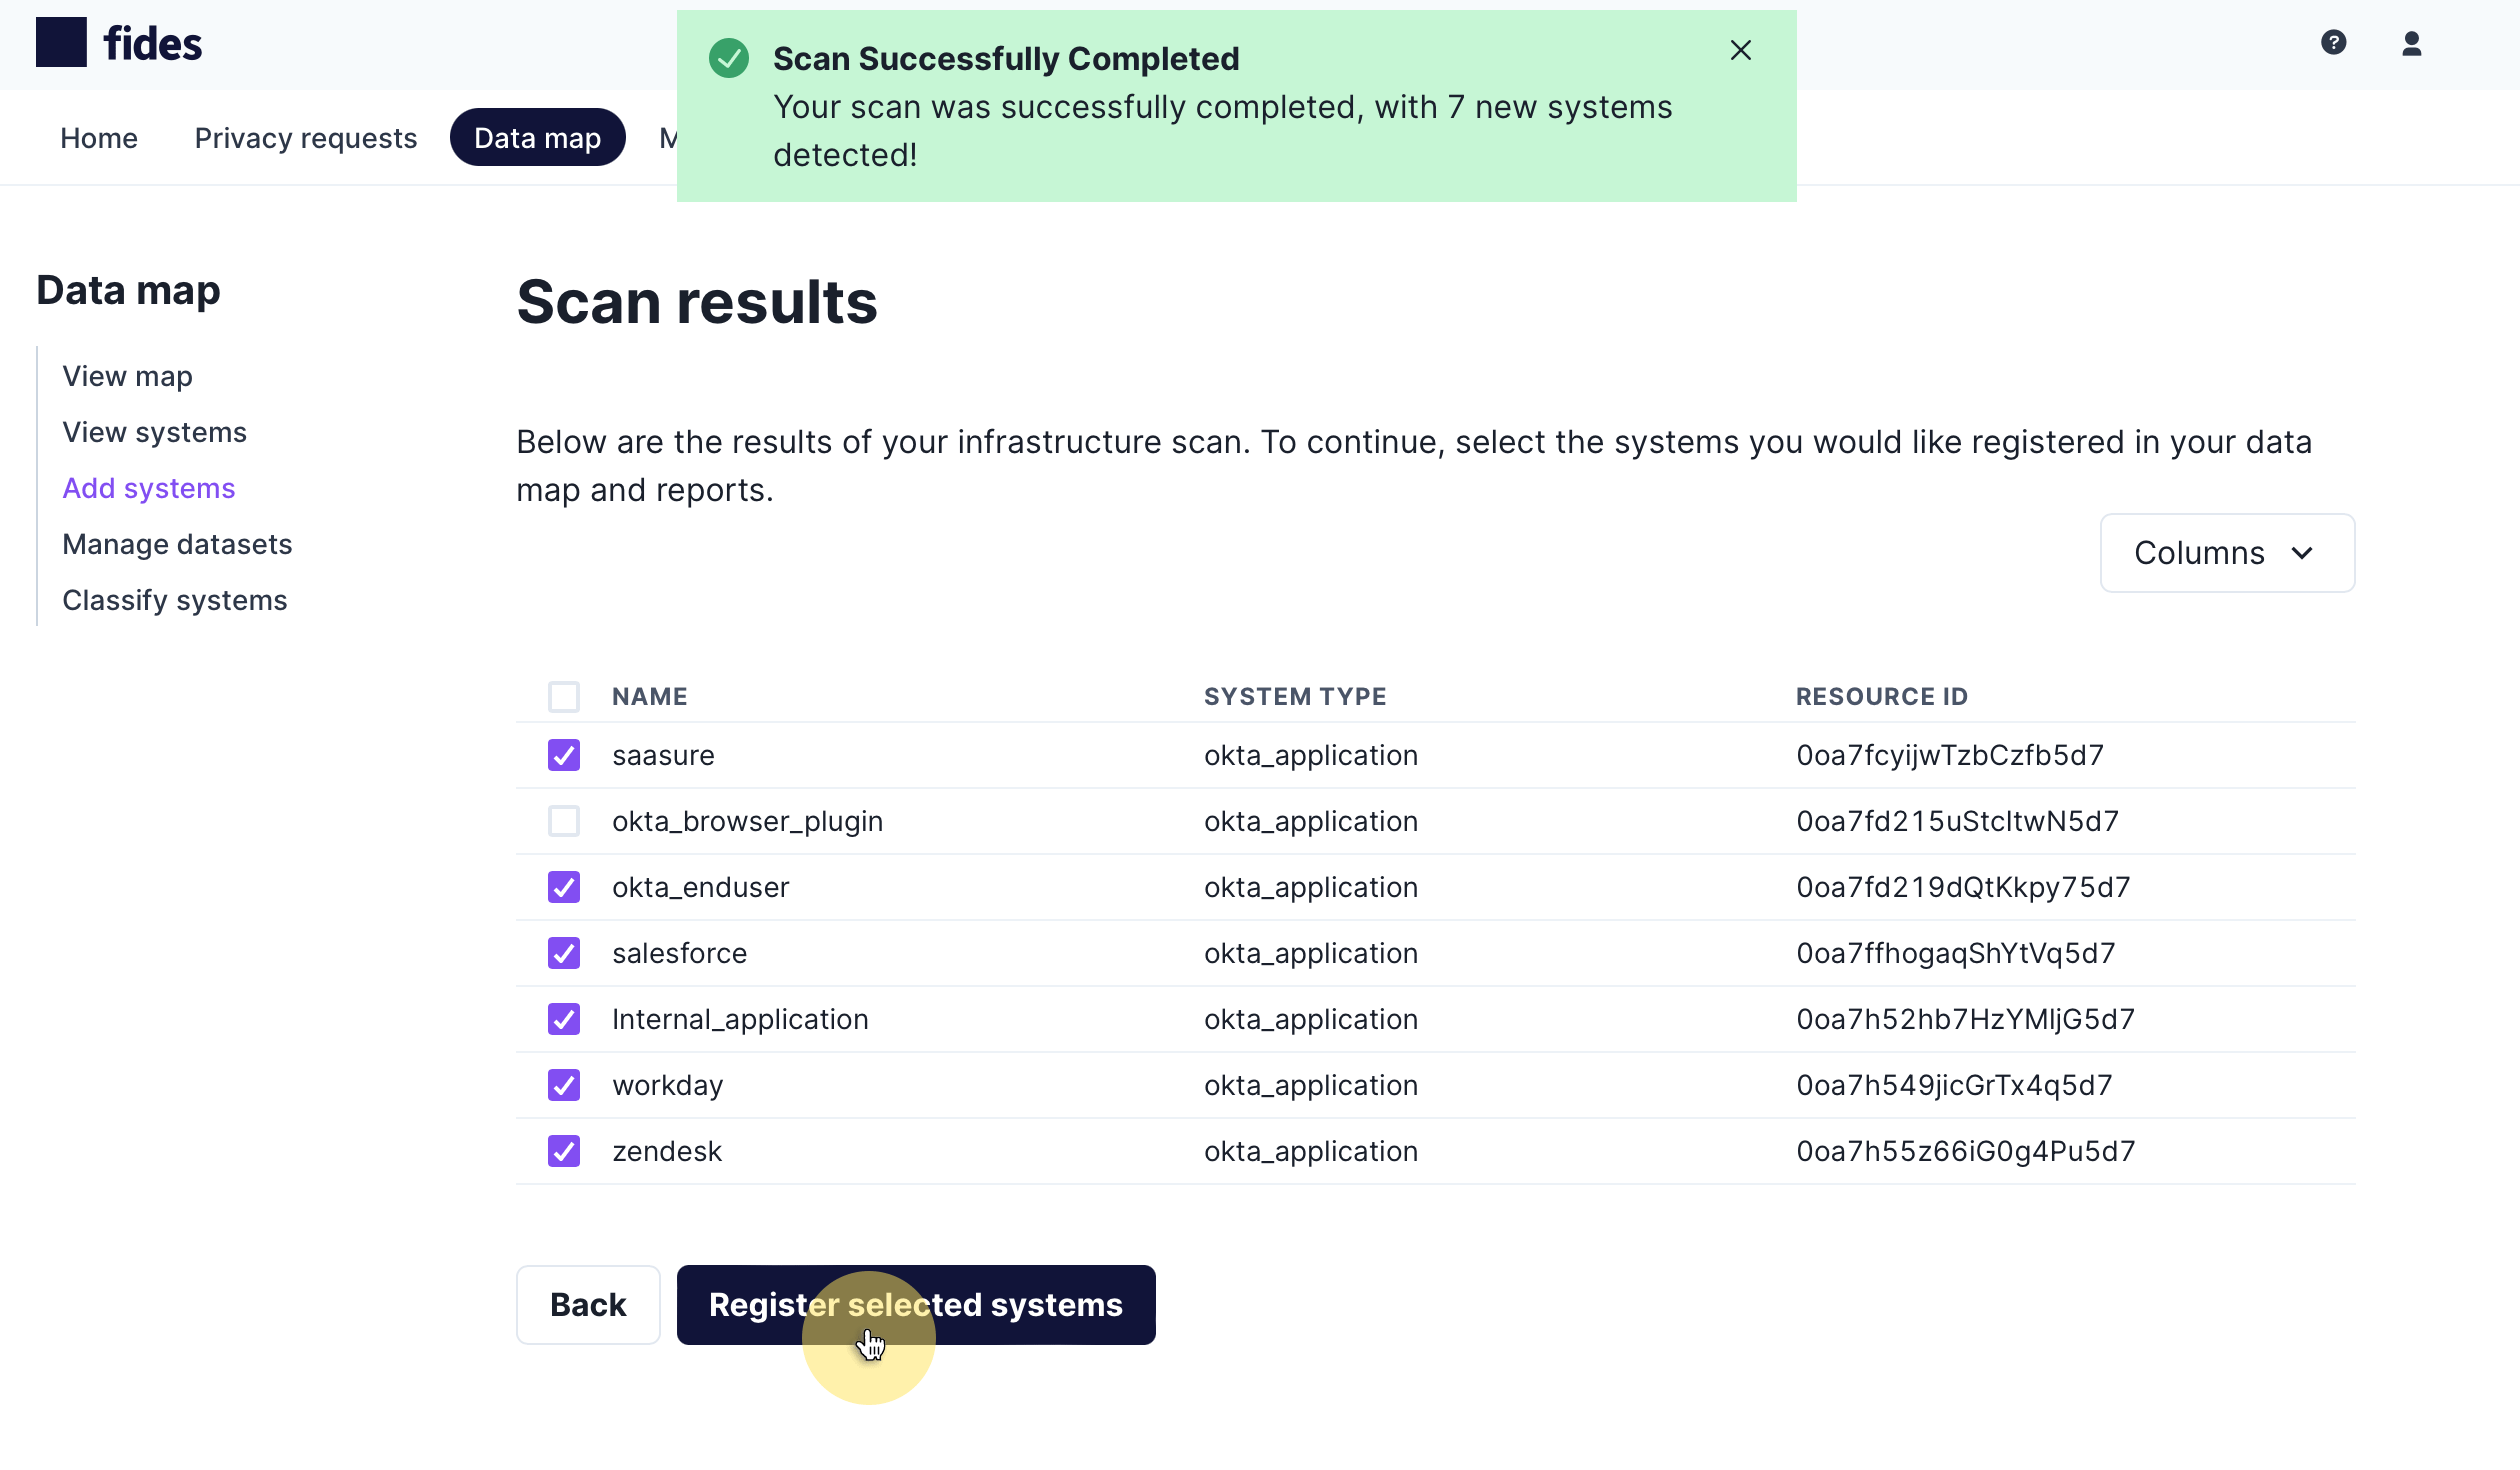
To add the scan results to your data map, check on the systems you would like to add and click Register selected systems.
Network Data Flow Detection
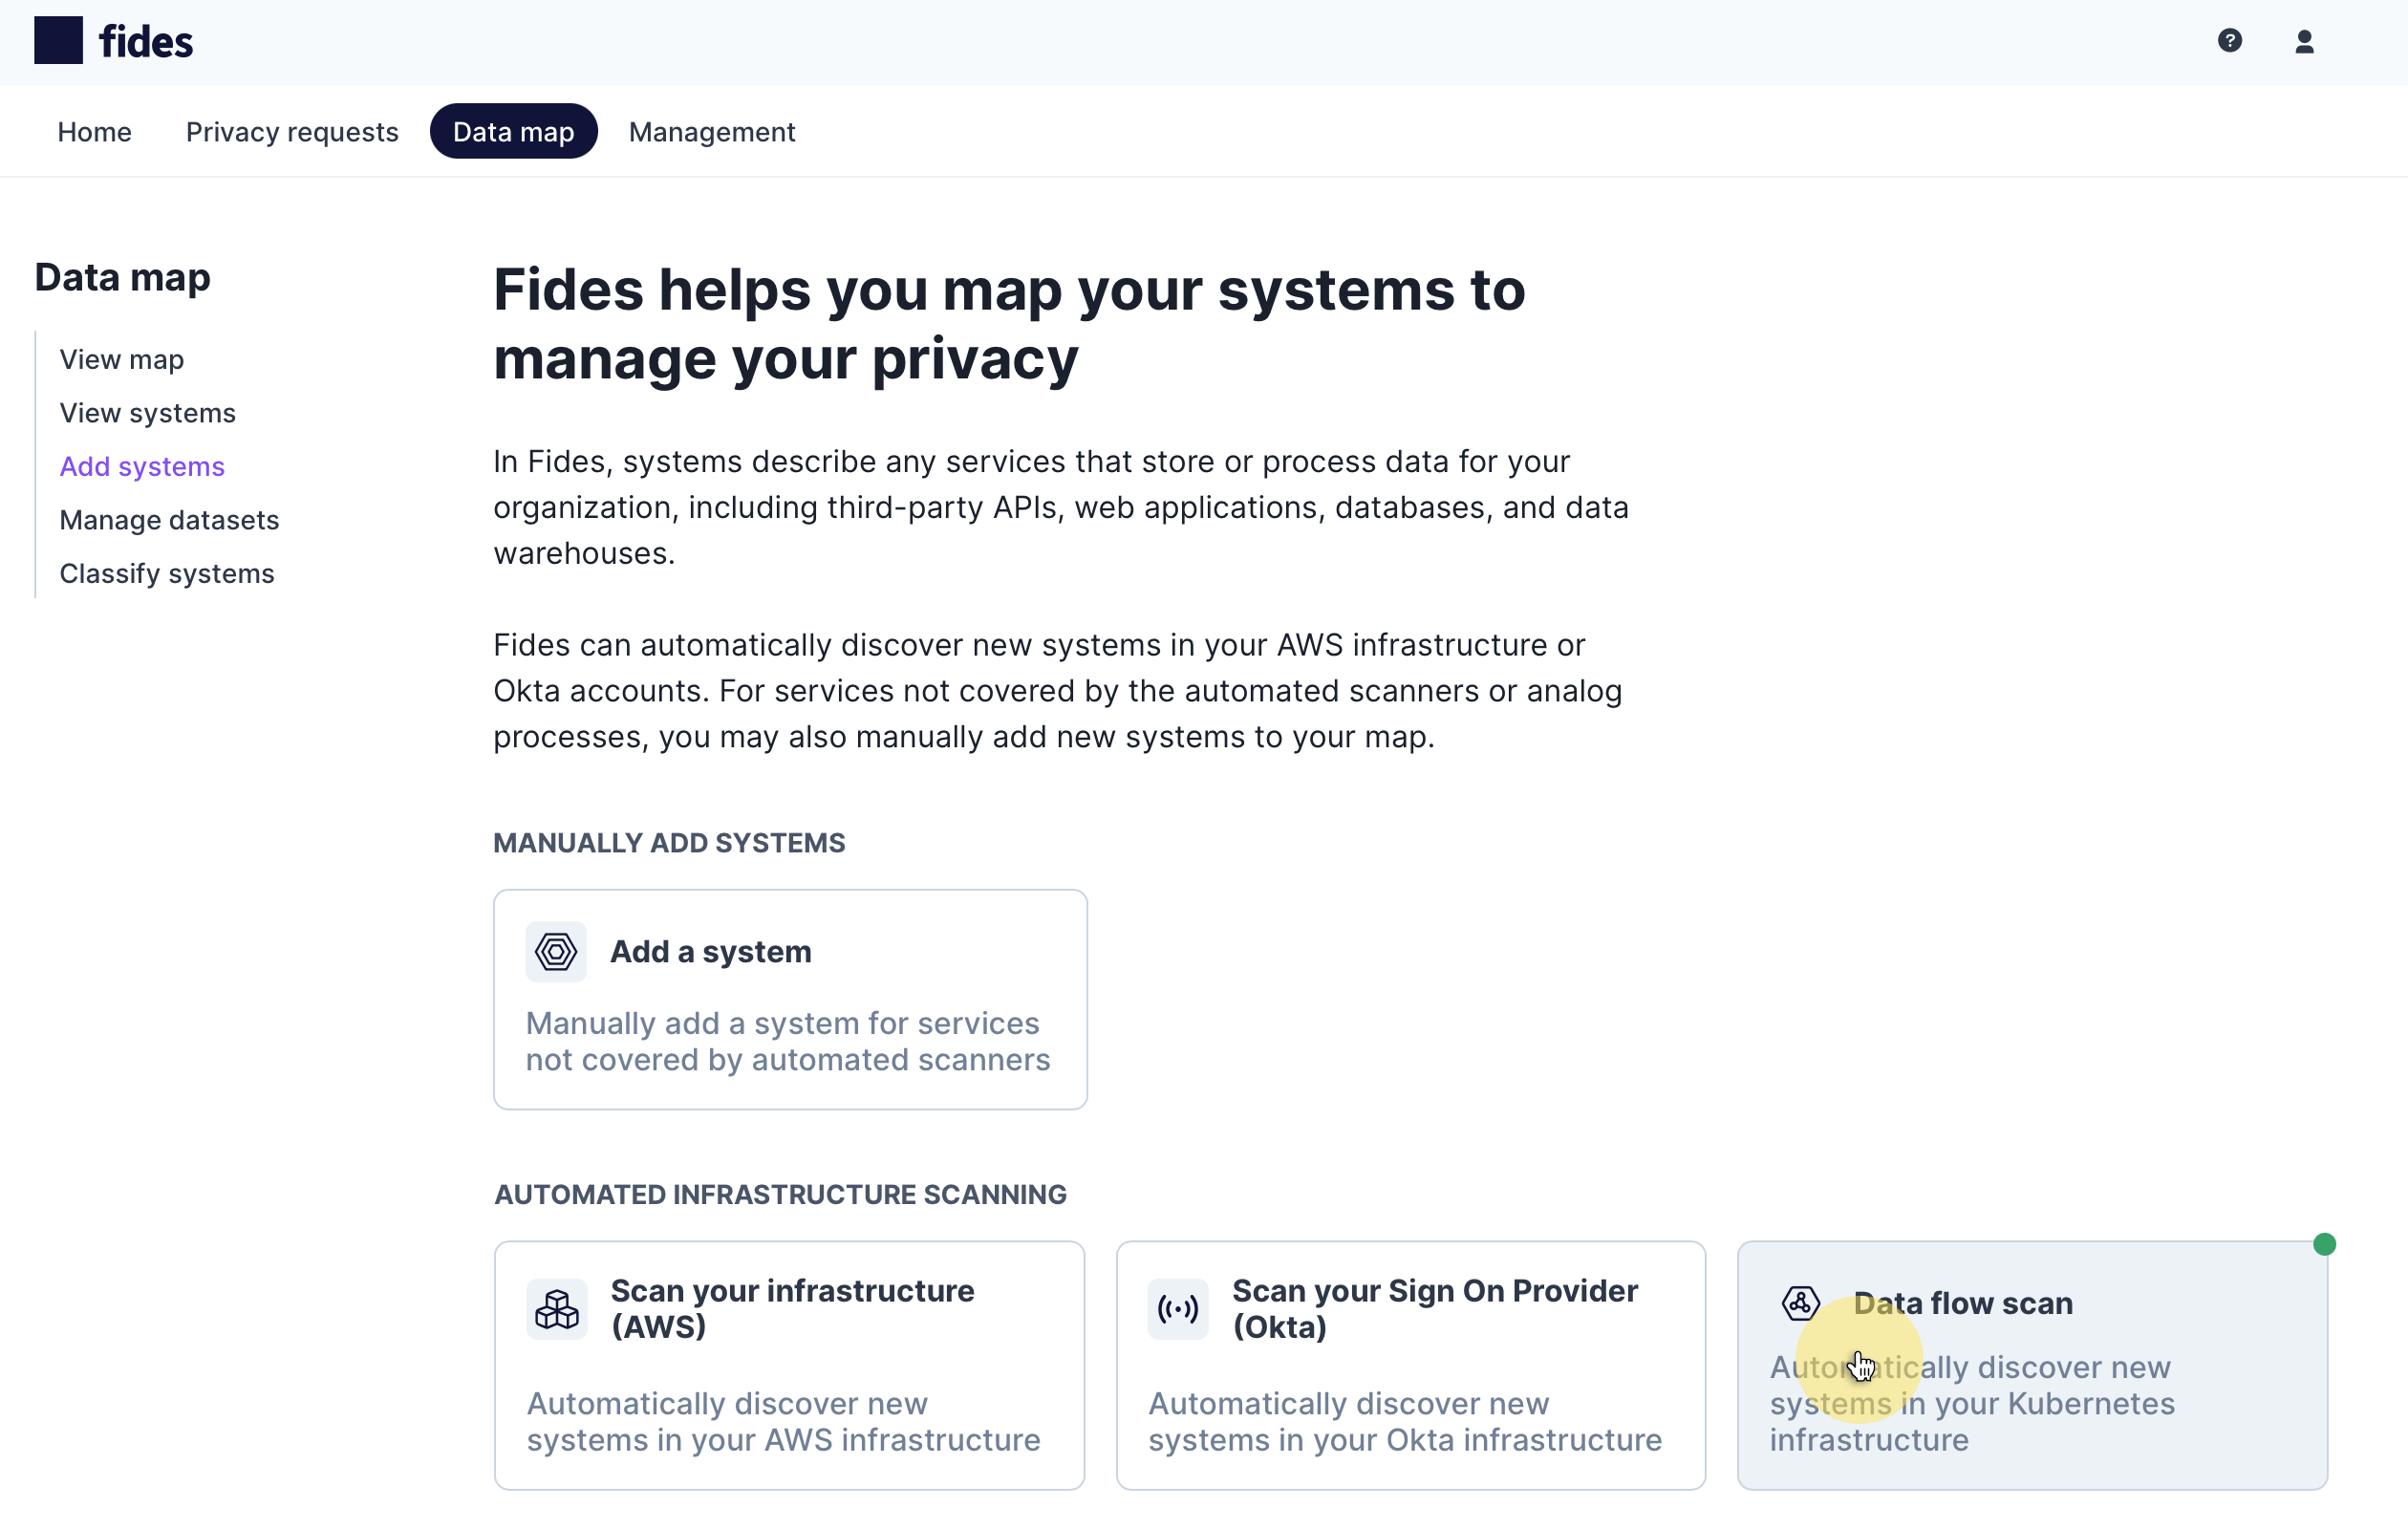
To start, navigate to Data map → Add systems and choose Data flow scan to scan automatically.
The network data flow scanner works by analyzing data flowing between services in clusters such as Kubernetes (k8s). This network inspection means the data flow scanner can safely analyze the network traffic between services in your cloud and categorize the data flowing.
When the scan has completed, you will be presented with a list of systems detected from real-time analysis of dataflow in Kubernetes (k8s) clusters in your cloud. You will see the scanner displays the system name and type:
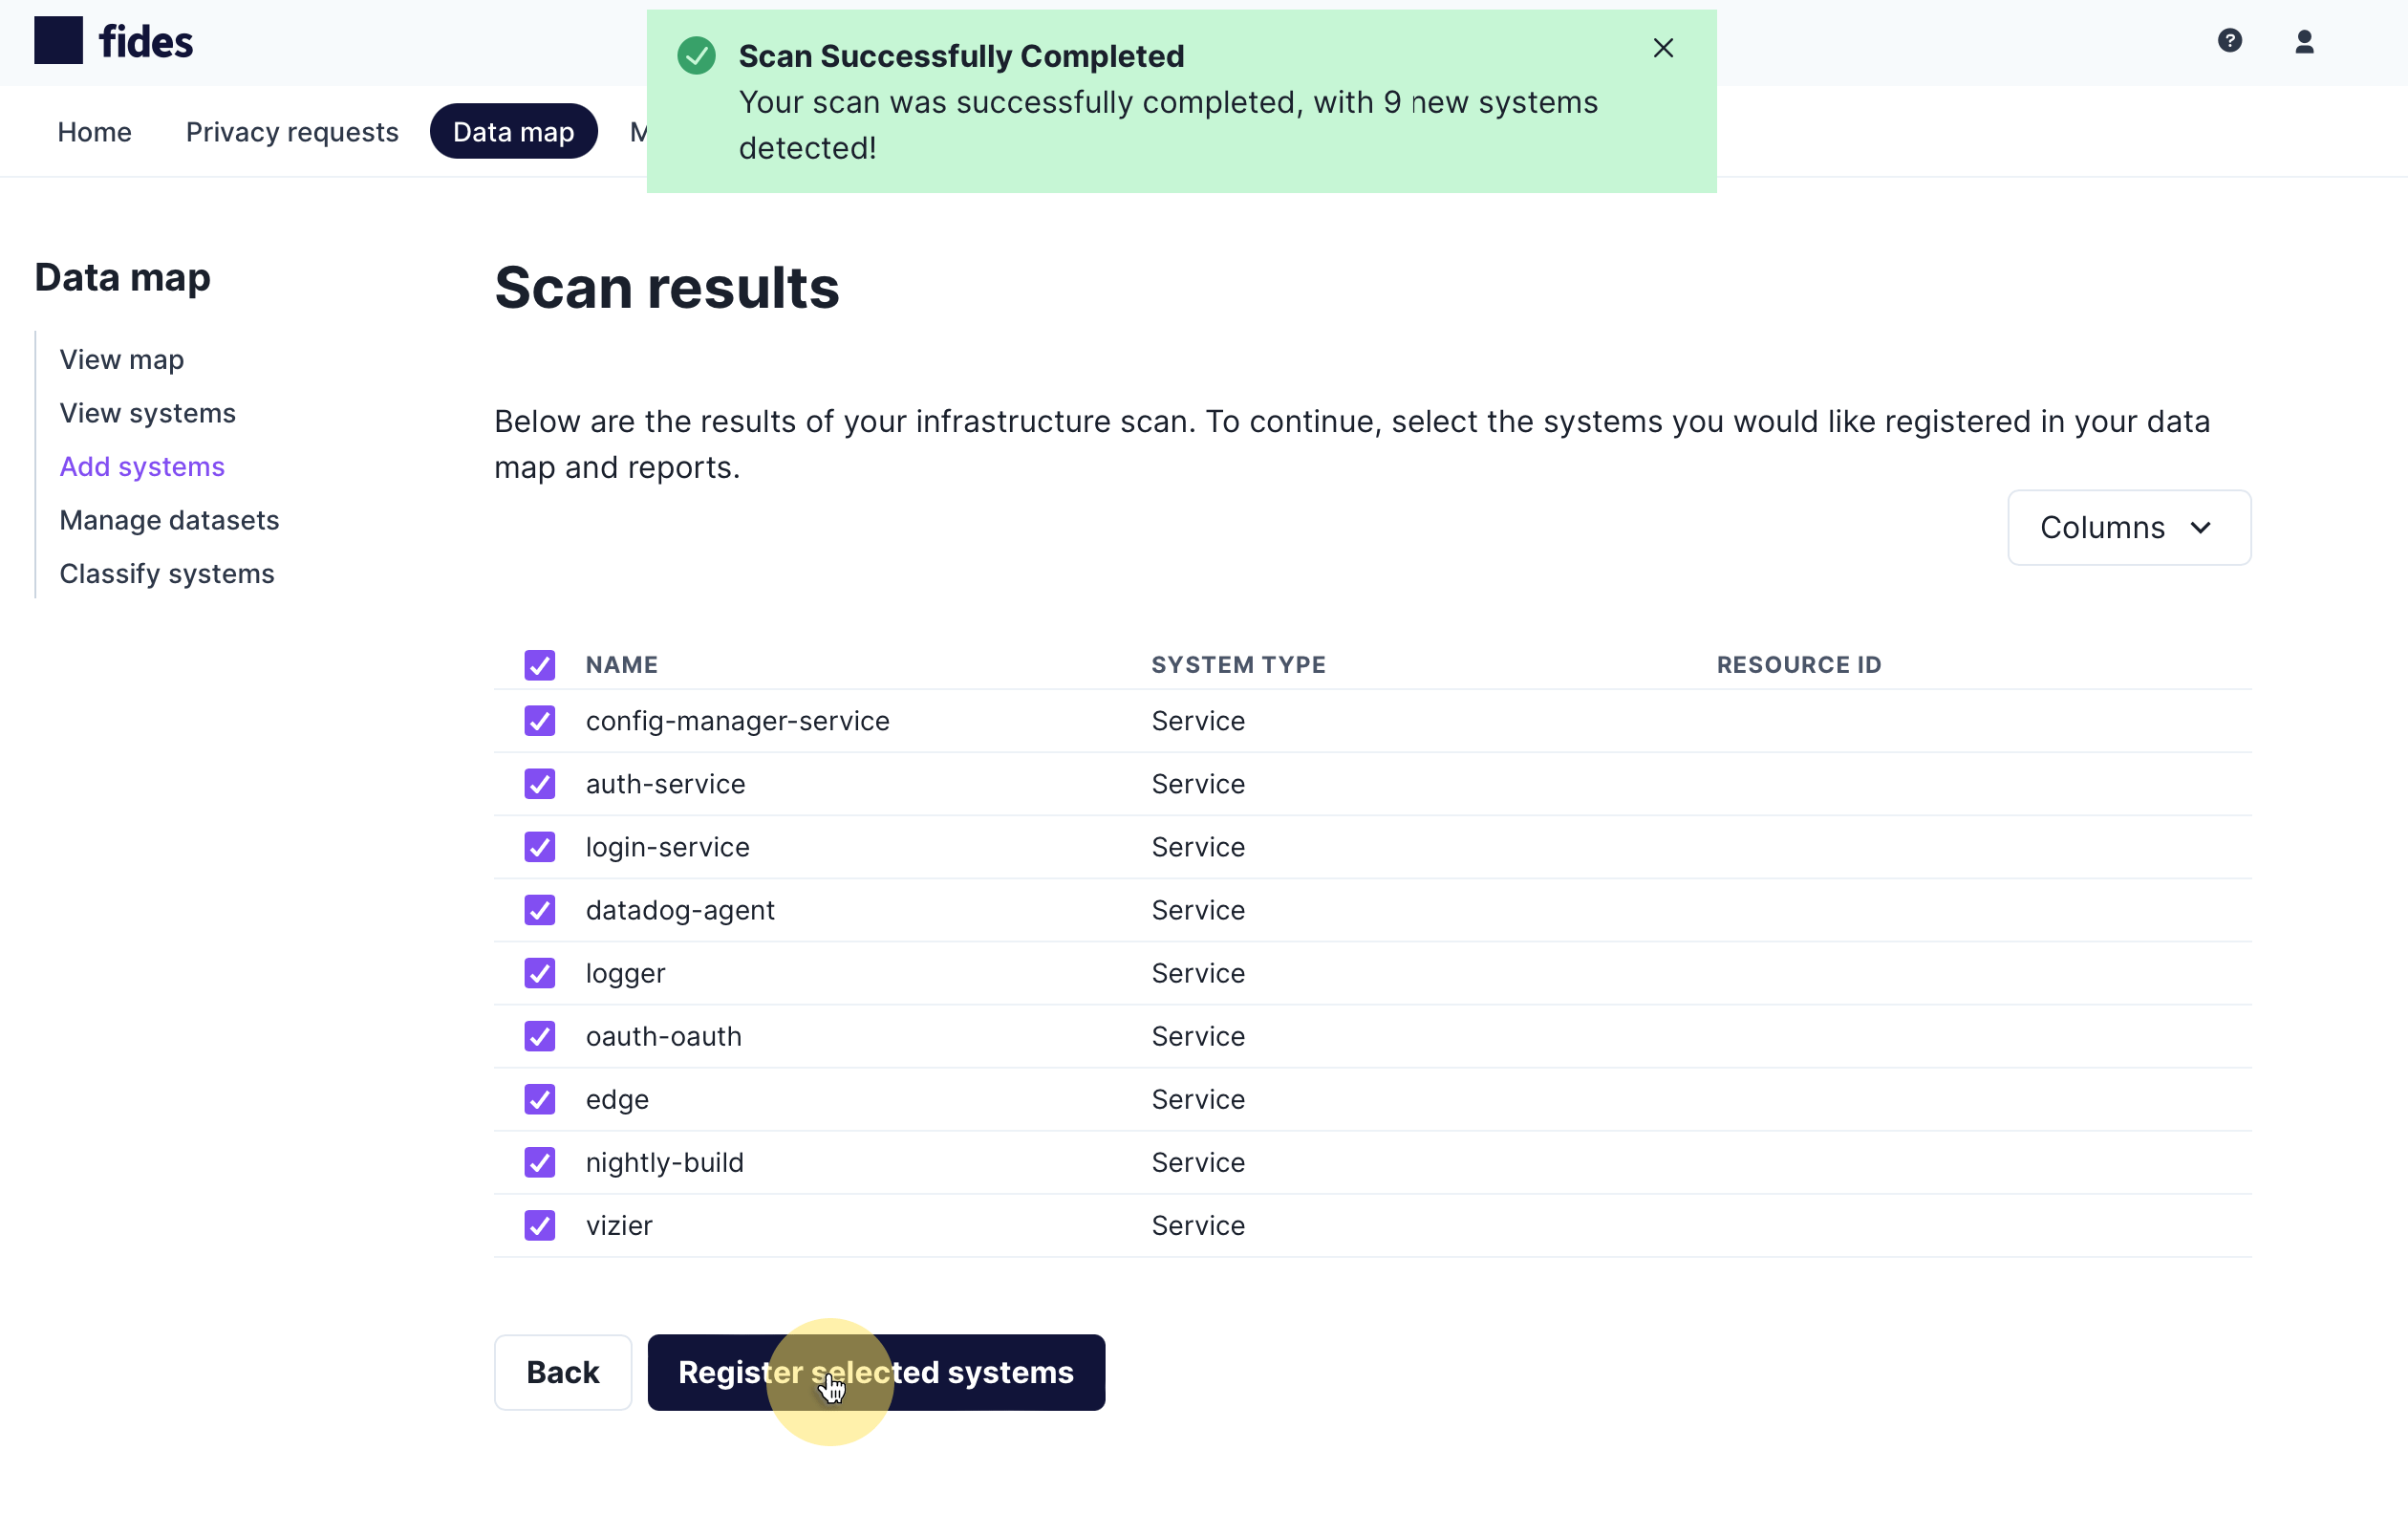
To add the scan results to your data map, check on the systems you would like to add and click Register selected systems.
After registering your systems, you will be prompted to classify the data flow between the systems. Your systems have already been registered to your map and you can complete or leave this flow without concern. If you wish to classify data flows, proceed to the step below.
Classify Sensitive Data Flowing Between Systems
The network data flow scanner will use Fides Classify, the machine learning classification engine, to categorize the sensitive data flowing between systems and provide a report of findings for review.
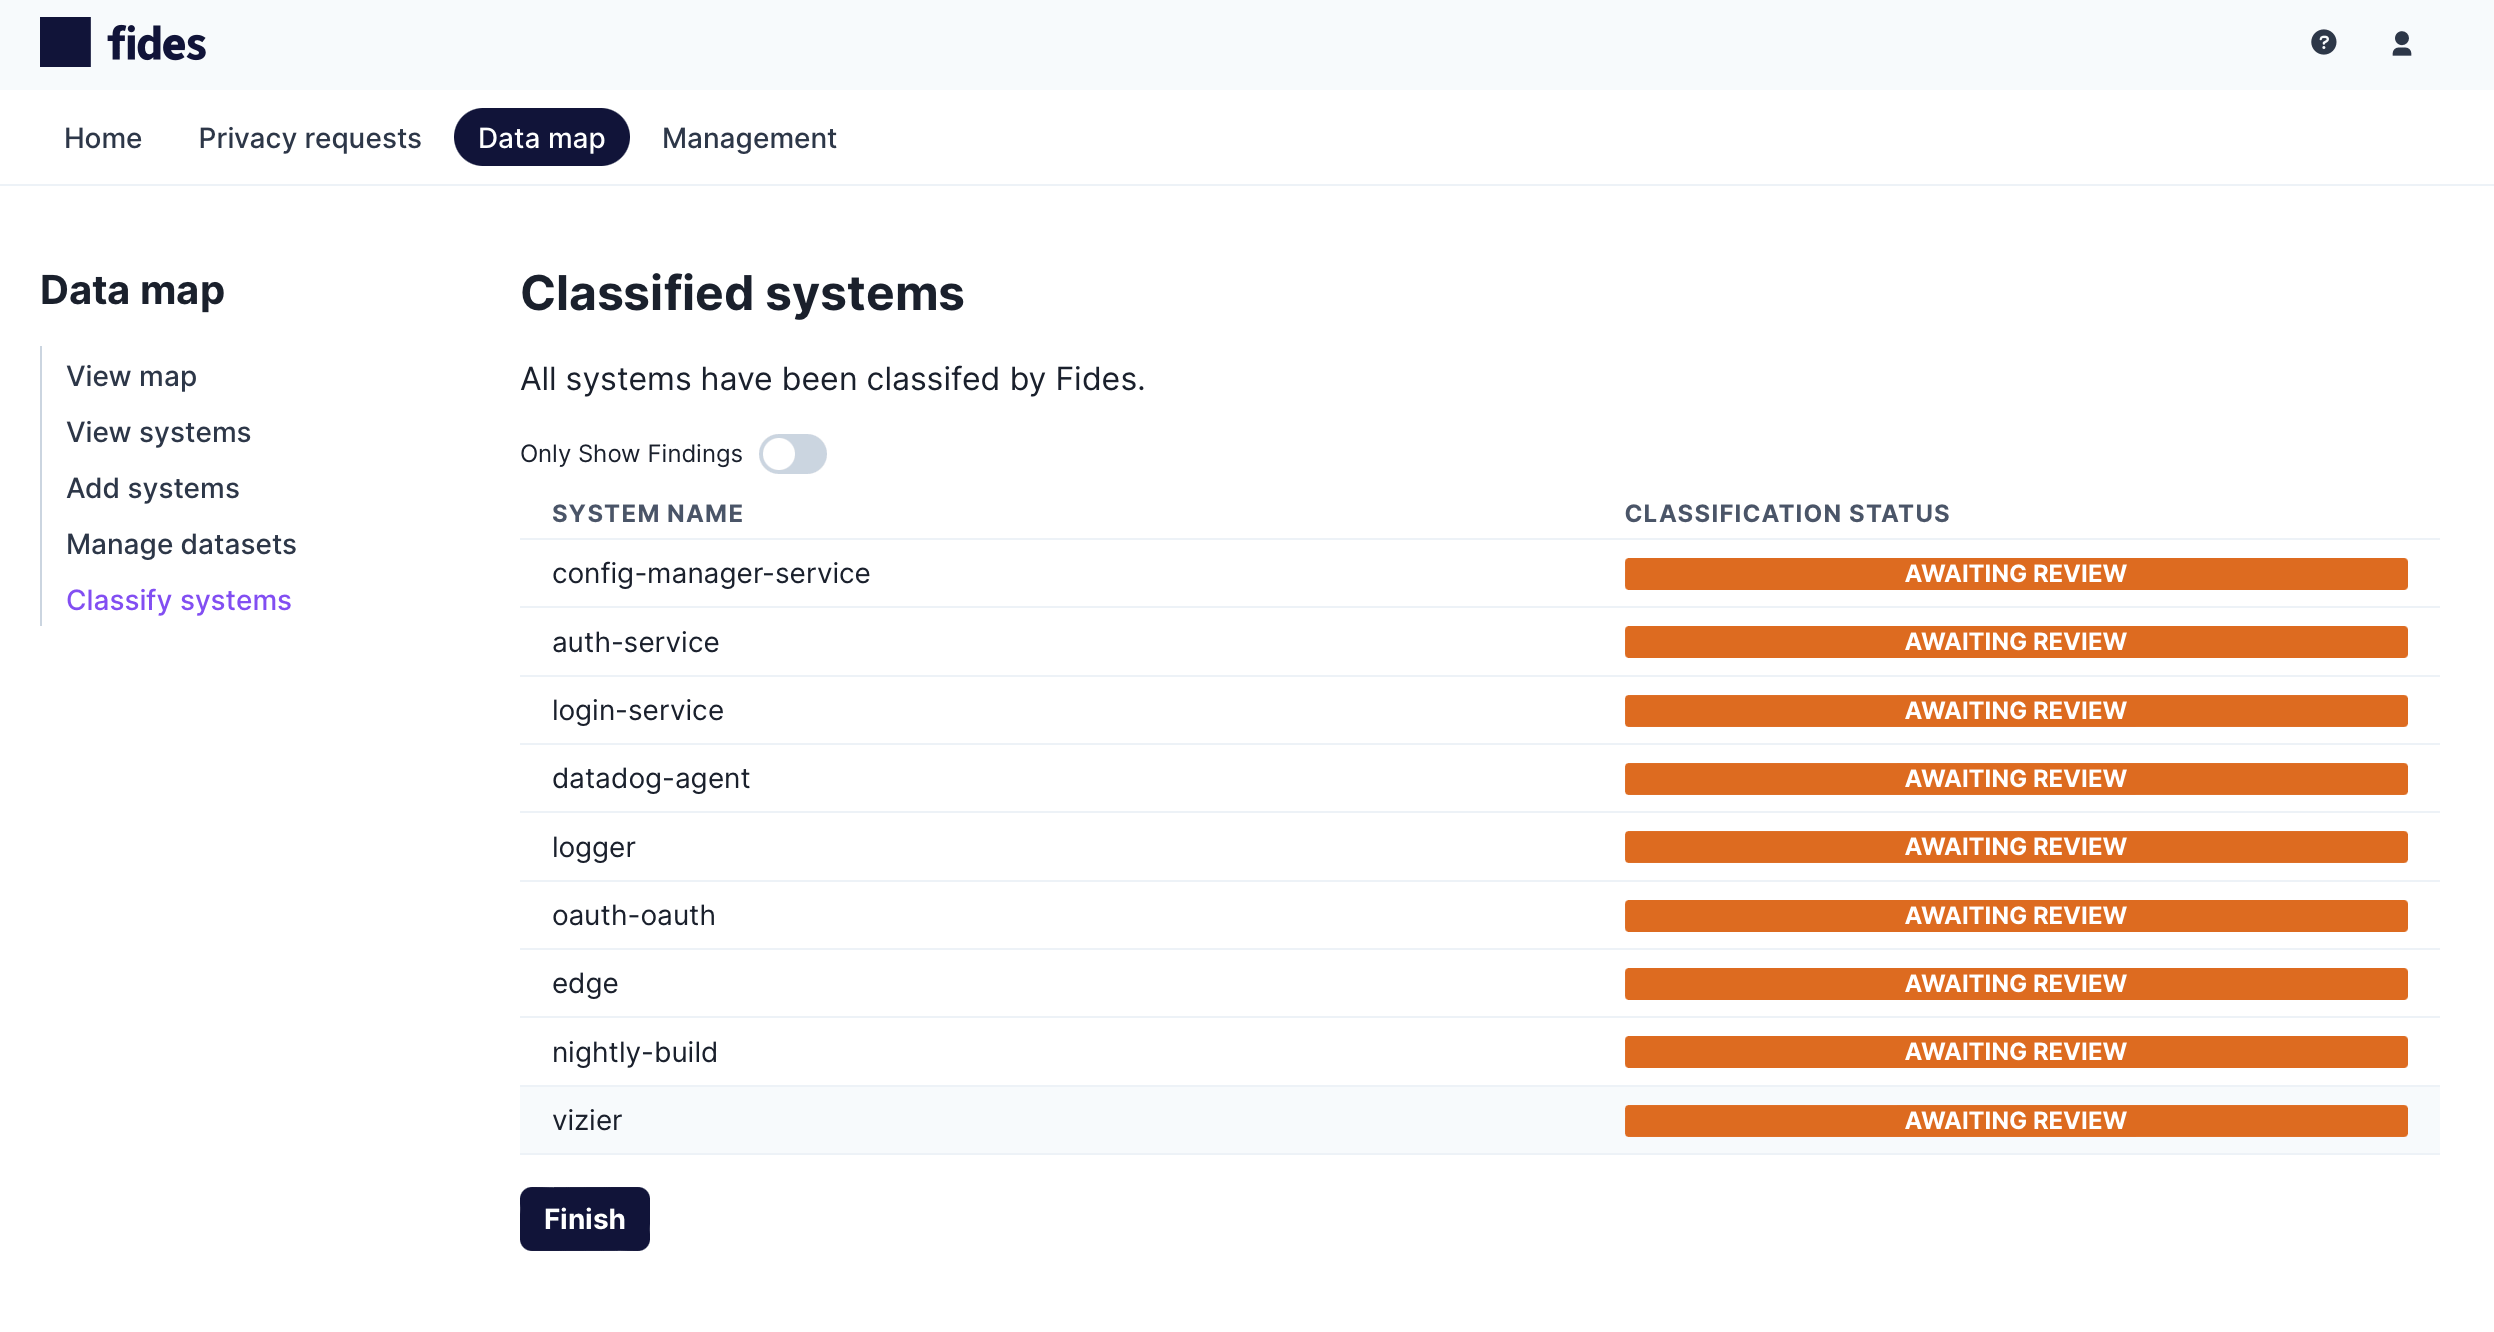
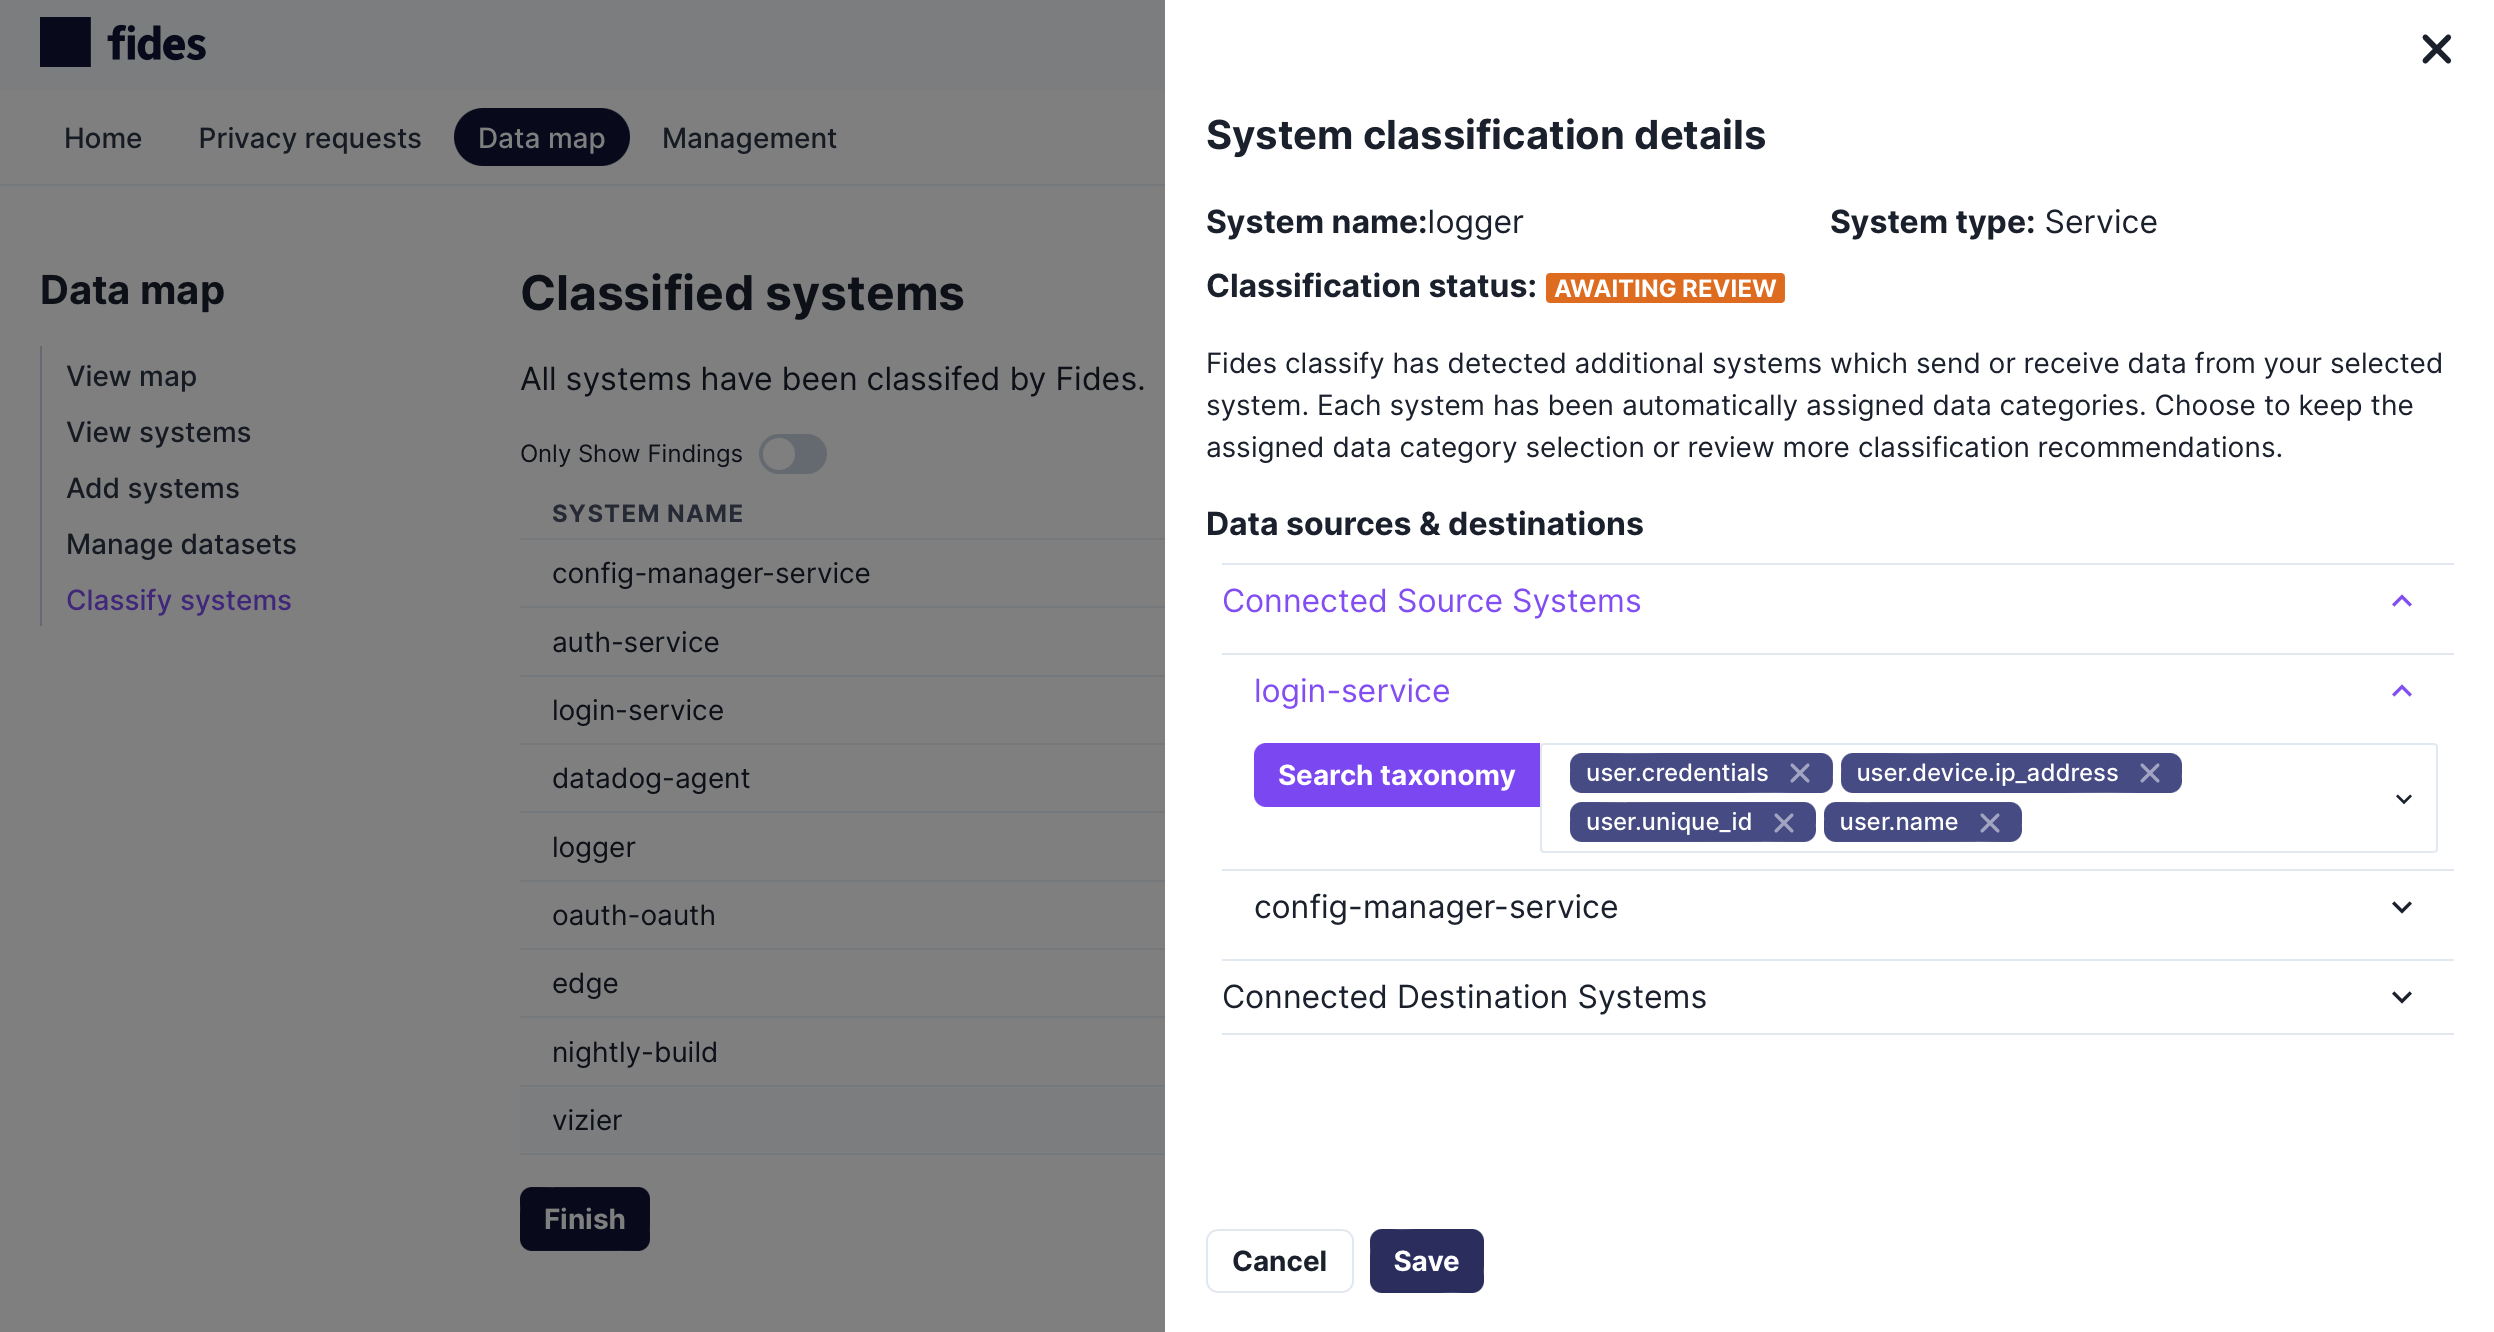
Review each system by clicking on Awaiting Review to see a detailed analysis of sensitive data classification for any source system and any destination system.
- Source Systems - Other systems that are sending data to the selected system are considered sources.
- Destination Systems - Systems that are receiving data from the selected system are considered destinations.
For each source and destination system, Fides will display the categories of sensitive data that have been detected flowing in network traffic:
After you have reviewed the list of systems, click Finish to complete the data flow analysis and return to the data map.
Next you will complete your system with Data Uses and Processing Activities so that you can begin building compliant privacy reports.