Managing privacy requests
Once privacy requests have been submitted and received, they must be reviewed.
The data subject's location determines the regulation that applies and with it, the time limit for when a privacy request must be completed. This table descibes some of the timeframes for common privacy regulations:
| Regulation | Timeframe | Extension |
|---|---|---|
| GDPR (EEA & UK) | 28 days (one calendar month) | 56 days (three calendar month total) |
| US State Regulations | 45 days | 45 days (90 days total) |
| LGPD (Brazil) | 15 days | -- |
Exceptions
There are some situations where you may not be able to, or required to, complete a privacy request. It's important to know when these might apply and how to manage them. In each case you should evaluate the circumstances and risks for your specific organization to ensure you're complying at all times.
Legal obligation
There are certain categories of personal data that you may be required to retain in order to fulfill legal or compliance obligations. In such cases, you're permitted to retain that data in the event when an erasure request is received- provided you restrict the use of the data to that purpose.
Example: To correctly calculate and file tax liabilities, an e-commerce company, Cookie House, will need to use order history information and the user's location. If the customer makes a subject erasure request to Cookie House, the order history and zip code may be exempt from deletion provided they are used only to file taxes, and not for any other business purpose.
Confidentiality risk
In circumstances where returning data to a subject might reveal confidential or sensitive information about any organization or another individual, you're not required to return that specific piece of information.
Example: E-commerce company, Cookie House, provides an employment reference in confidence for one of their employees to another company. If the employee makes a subject access request to either company, the reference is exempt from disclosure.
Reviewing privacy requests
When privacy requests are received, they're registered in Fides as a New request available to view in the Request Manager :

A privacy request can be approved or rejected from the Request Manager or from the details panel of the privacy request.
To approve or reject a privacy request:
- Navigate to Privacy Requests → Request Manager
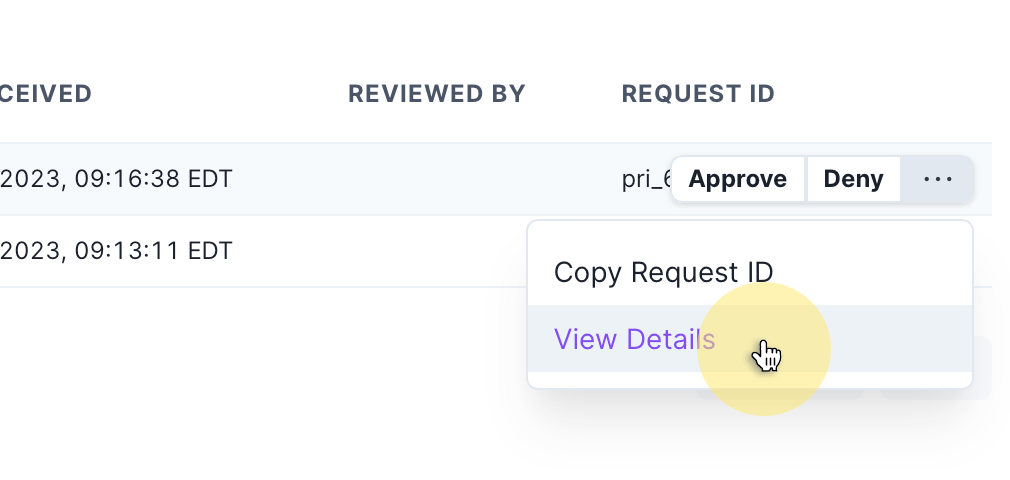
- Hover over kebab menu
...for the request and select the appropriate action from the menu.

If a request has been approved, the data subject will be notified by email. If the request is an access request, the confirmatiom email will include a download link to retrieve a copy of their personal data.
If a privacy request has been rejected, the reviewer will be prompted to provide a reason for rejecting the request. This reason is stored in the Fides audit trail for reporting purposes and also communicated to the subject via email.
Viewing request details
To view the details of a specific privacy request, click the kebab menu ... and select View Details:
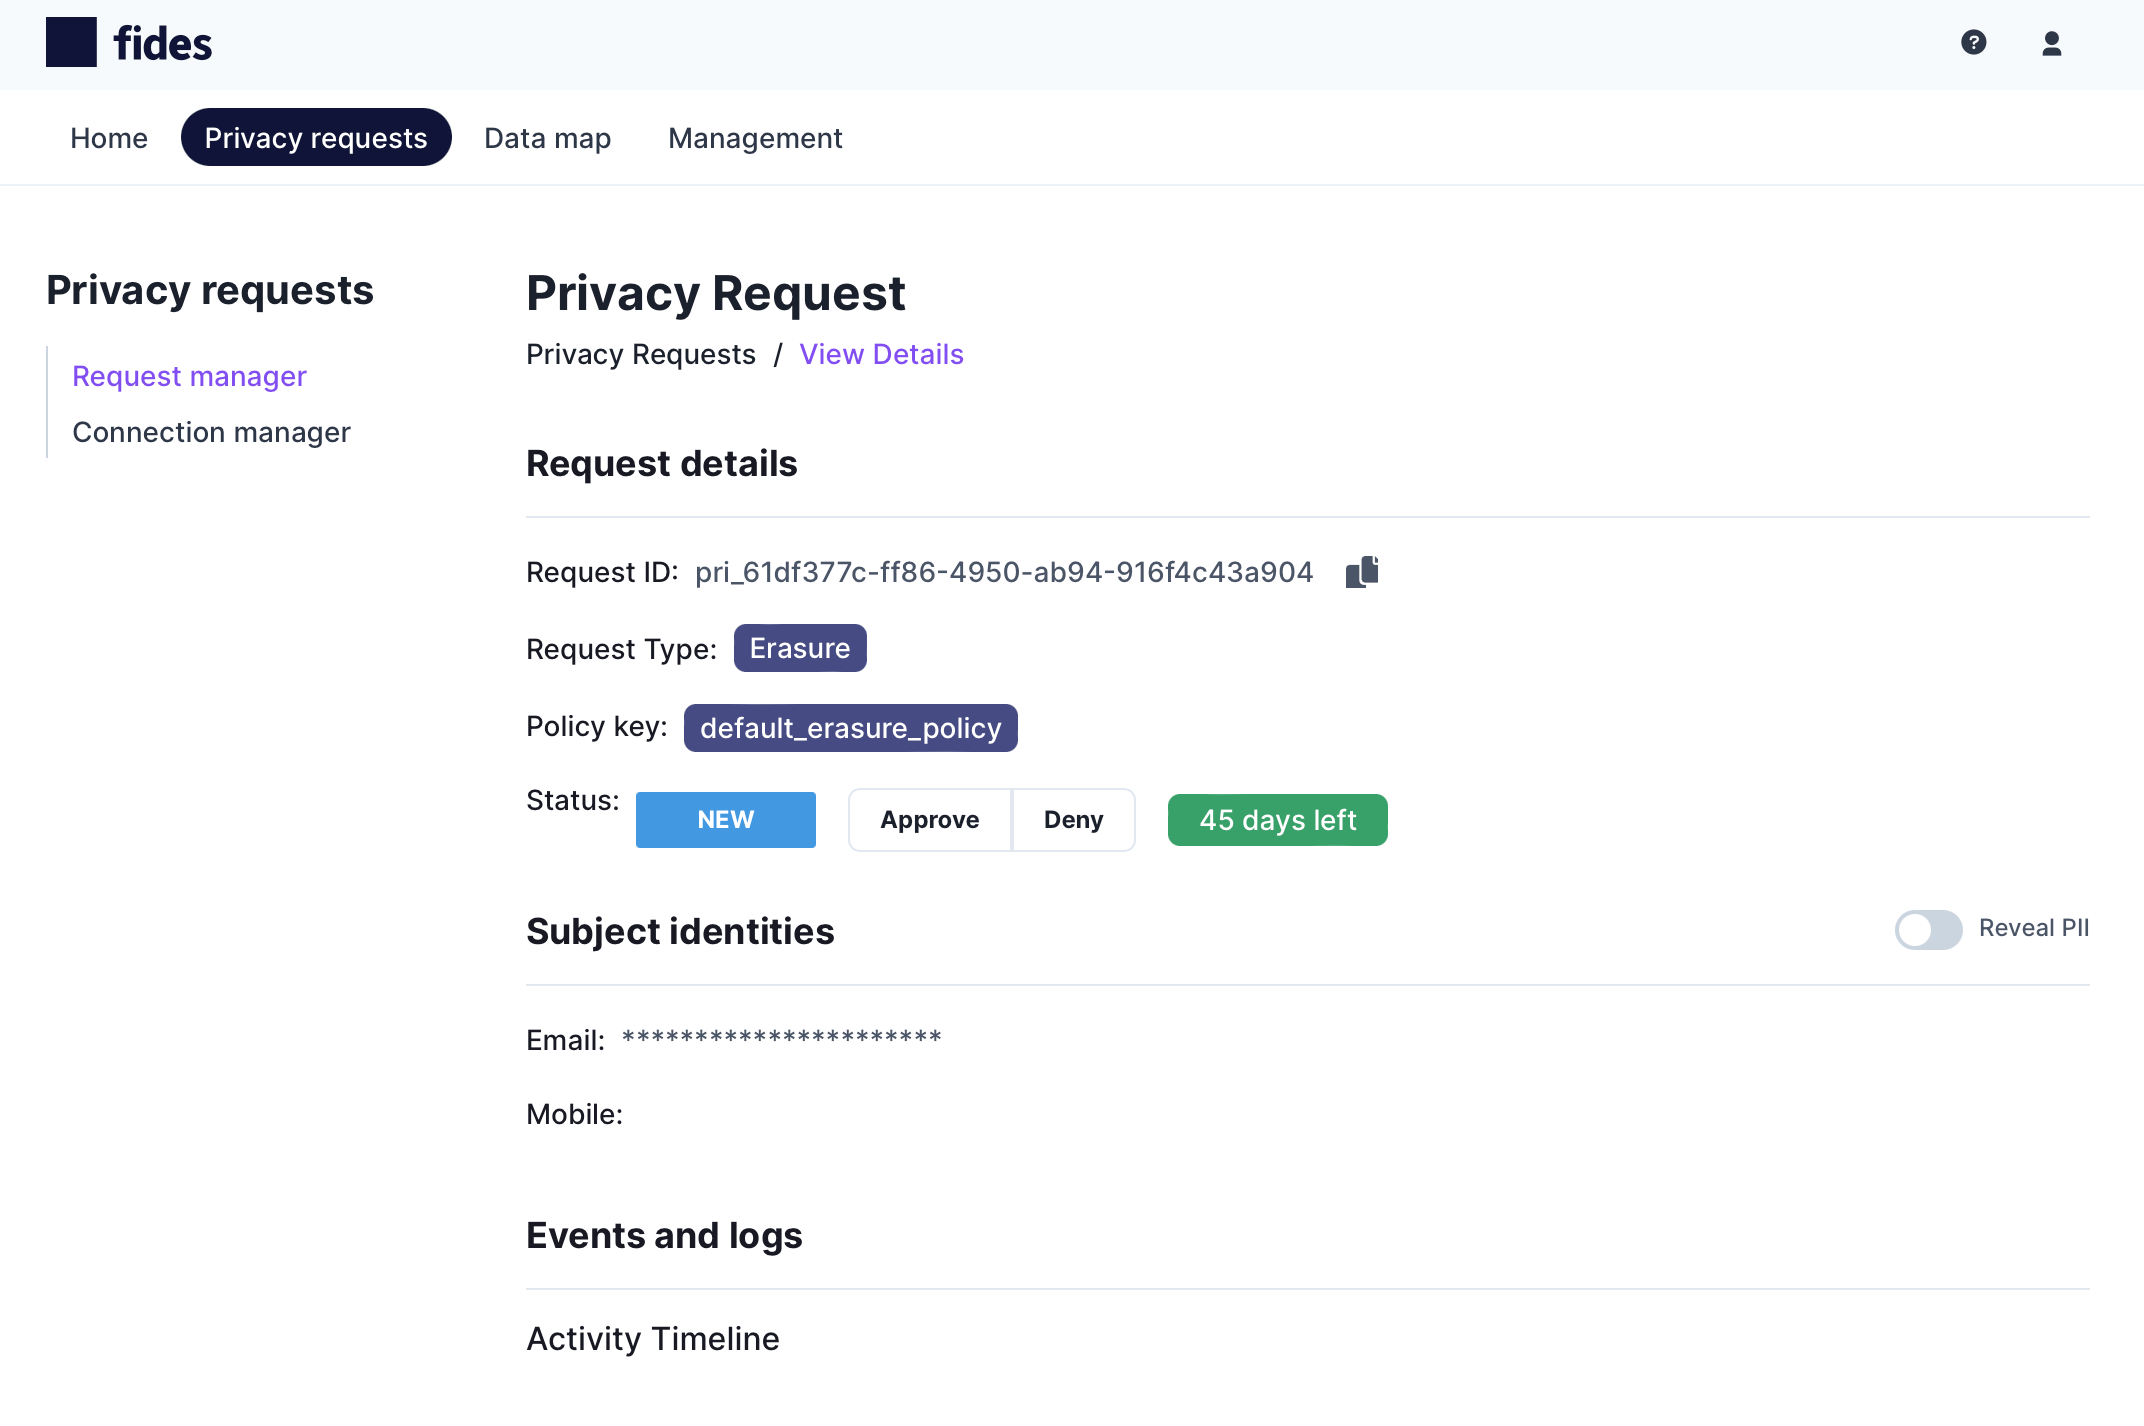
The Privacy Request Details page displays:
- Request ID: The unique ID for the privacy request.
- Request Type: The privacy request type, such as access or erasure.
- Policy Key: The privacy request policy being applied to the privacy request.
- Status: The current status of the privacy request, including a countdown timer by when the request must be completed.
- Subject Identities: The related identifiers for the subject that made the request.
- Events Log: An activity log related to the privacy request.
Exploring the Request Manager
The privacy request admin panel features a set of controls to filter, search, and create reports.
Filtering requests
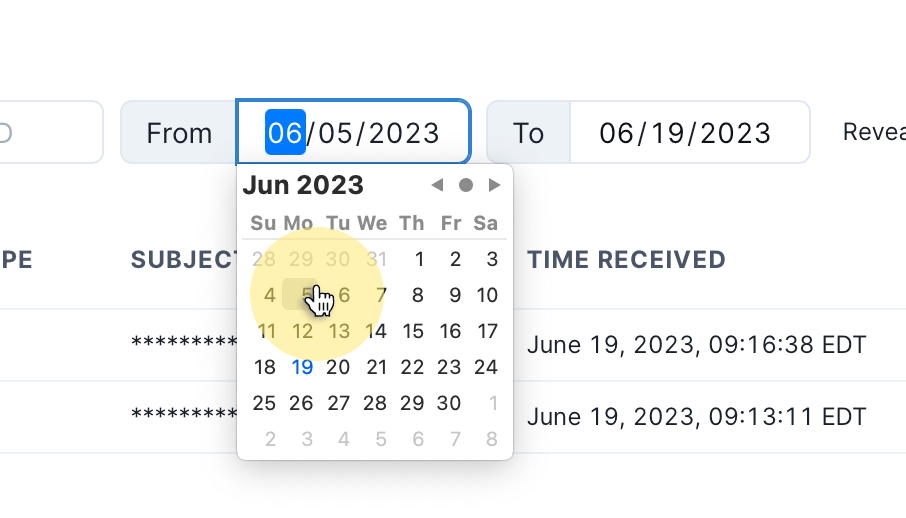
Privacy requests can be filtered by status or date range:
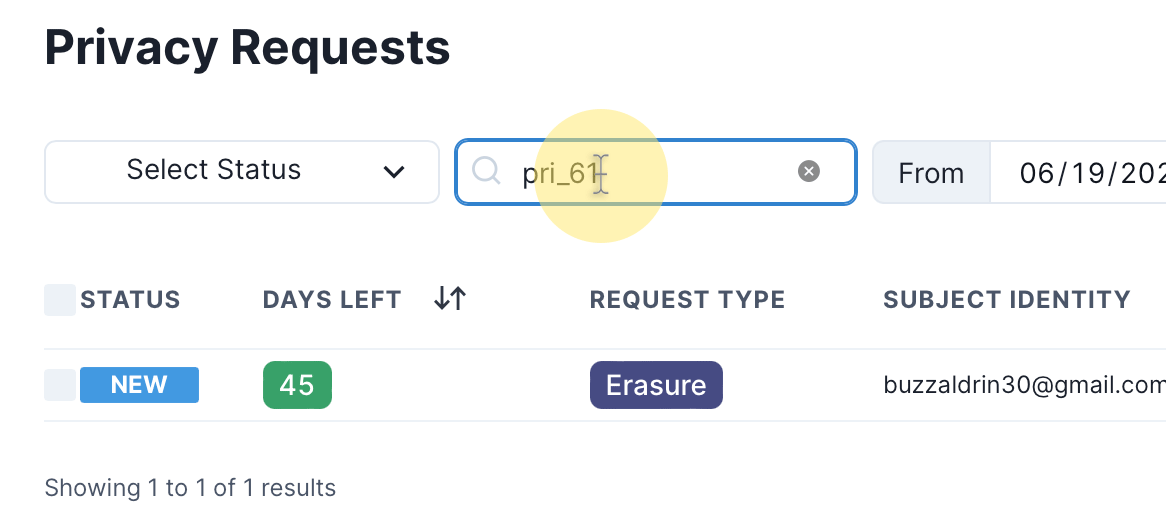
Each privacy request is assigned a uniquely identifiable Request ID and you can search for the request using this ID:
Reporting
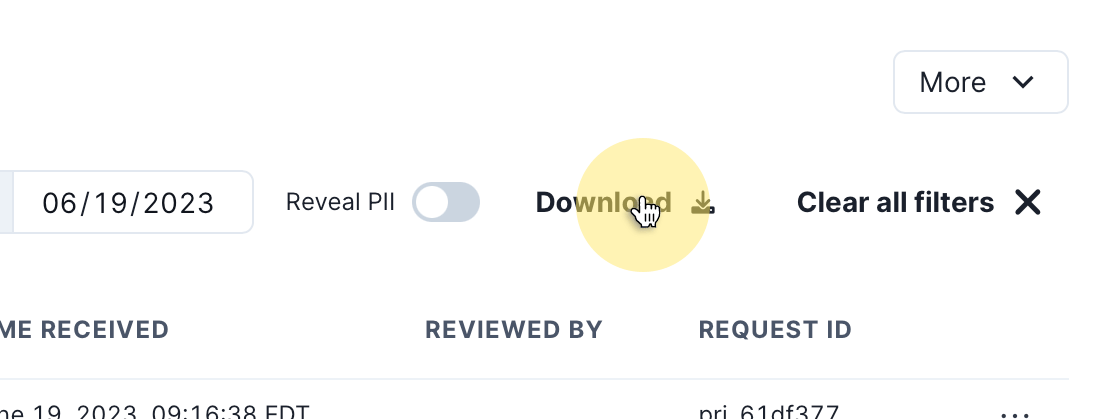
To download a report of the currently filtered view of privacy requests click the Download button.
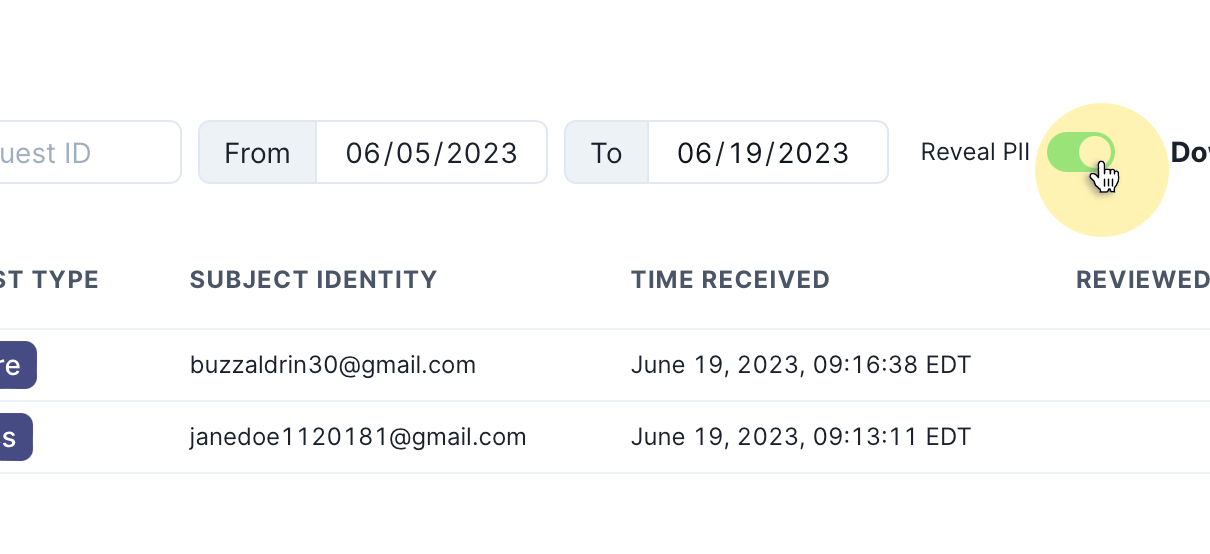
Revealing personal identifiers
To minimize personal data risks, obfuscates personal identifiers in the UI by default. To reveal personal identifiers, you can toggle the Reveal PII switch as shown:
