Consent Management: Install Fides on your Shopify Checkout
In this tutorial, we'll be using Shopify custom pixels to load FidesJS on checkout pages.
- This tutorial is designed to work with Shopify checkout pages. To configure Fides on non-checkout pages, follow the main Shopify tutorial here.
- After configuration, Fides will be able to initialize on checkout pages, but it is unable to collect new user consent (e.g. show the consent banner) on these pages due to Shopify's restrictions on pixels within checkout.
Let's get started!
Prerequisites
Adding Domains
In order for FidesJS to be served on your Shopify storefront, you must first add your Shopify store domain to the allowed list. Read the guide for adding domains to the allowed list here.
For this tutorial you'll need:
- A Fides Cloud or Fides Enterprise account
- The role of
OwnerorContributorfor your Fides organization. - Access to your Shopify store admin to make updates to the theme.
- At least one system with a data use on your Data Map. Read how to add systems to the Data Map now.
- At least one privacy notice configured. Read how to configure privacy notices now.
- At least one privacy experience configured. Read how to configure privacy experiences now.
- An active GTM account.
Configure a FidesJS custom pixel
For this step, we'll configure a custom pixel on Shopify to load the FidesJS script.
- In your Shopify admin, navigate to Settings.

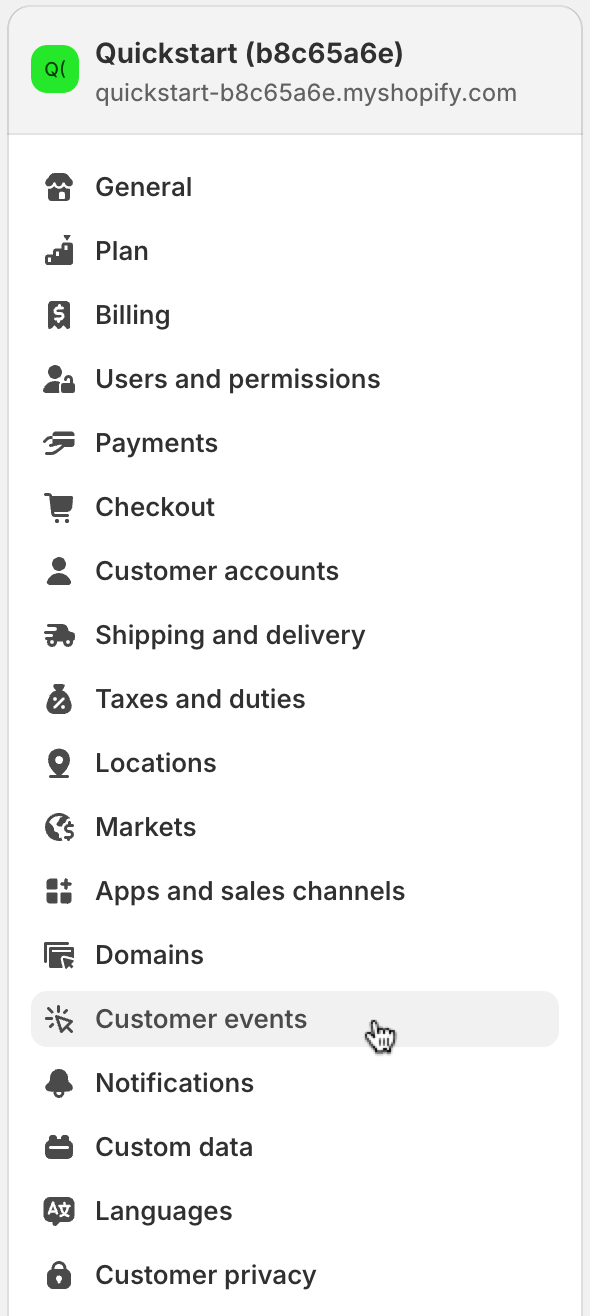
- Click on Customer Events.

- Click on Add custom pixel.
- Name it
FidesJSor something similar. - Paste the following code in the HTML field:
function insertFidesScript() {
  const script = document.createElement('script');
  script.id = 'fides-js';
  script.src = 'path/to/fides.js'; // You will need to change this to your fides.js URL
  script.async = true;

  script.onerror = function() {
    console.error('Failed to load Fides script');
  };

  document.head.appendChild(script);

}

const currentURL = window.location.href;

const stringsToCheck = ["checkouts"];

const isCheckoutPage = stringsToCheck.some(str => currentURL.includes(str));

// Insert Fides.js on checkout pages
if (isCheckoutPage) {
  insertFidesScript();
}
-
Replace
path/to/fides.jswith the custom domain of your privacy center, e.g. "privacy.example.com/fides.js", "privacy.your-brand.com/fides.js", or "privacy-your-brand.fides-cdn.ethyca.com/fides.js". If you're not sure what to use, work with your Ethyca customer success team! -
Notice the script checks if the current page is a checkout page and loads the FidesJS script if it is. We do this by checking string matches against the URL. Replace the
stringsToCheckarray with string(s) appropriate for your checkout page setup. E.g. if your checkout pages have/checkoutin the URL, you can replace["checkouts"]with["checkout"].
The resulting pixel should look something like this:
- Click Save to save the pixel.
- Click Connect on the top right to connect the pixel to your site, then click Test to test the pixel.
Congrats! FidesJS is now installed on your Shopify checkout pages. You can now test the installation following the steps below.
Test FidesJS installation on checkout pages
Accessing user consent data
Note that window.Fides is not available directly on your checkout pages due to the restrictive nature of Shopify's custom pixel environment, but user consent is avail through the following avenues:
- If Shopify has been configured on non-checkout pages, customer consent preferences will still be available through the Shopify Customer Privacy API on checkout pages.
fides_consentcookie should be set on your domain for accessing current customer consent data if a user has previously saved consent preferences.
Once you have installed the fides.js script on your Shopify store, you can do some quick tests before fully configuring your consent solution. Here are three easy checks:
- Open your updated Shopify store in your web browser, or click Test in the custom pixel settings
- Navigate to checkout page(s)
- Open up the network tab. Reload the page to see
path/to/fides.jsis loading in appropriately